Lotos Station XR Film
Overview

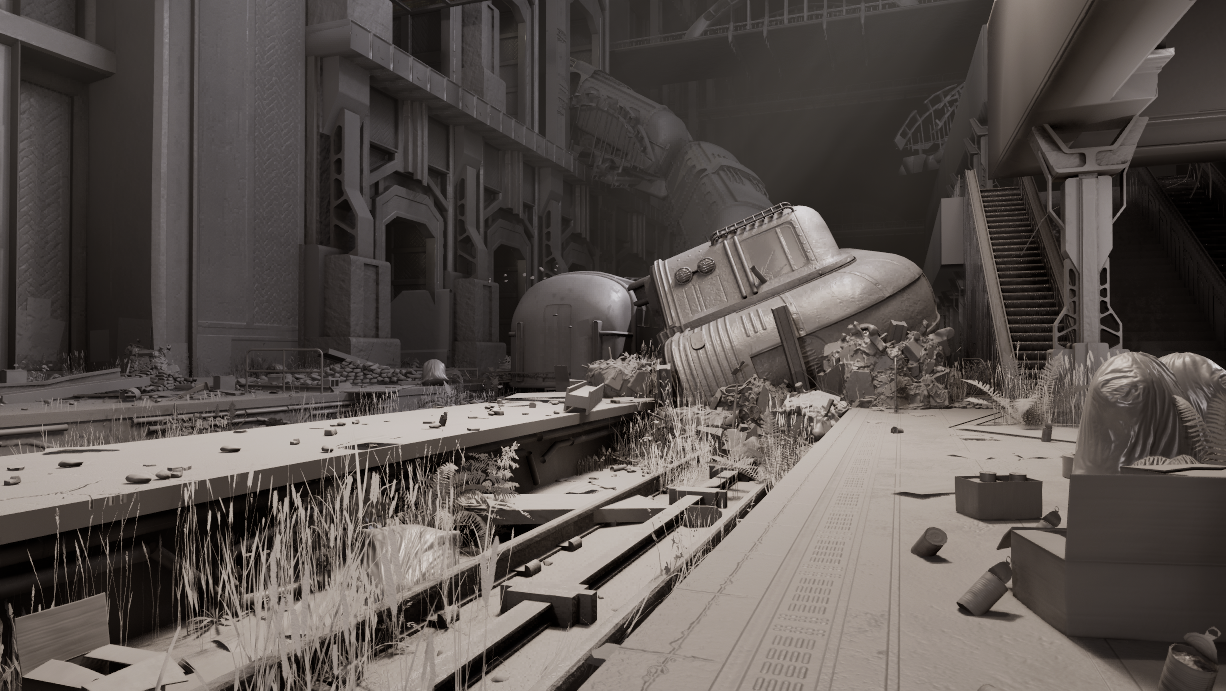
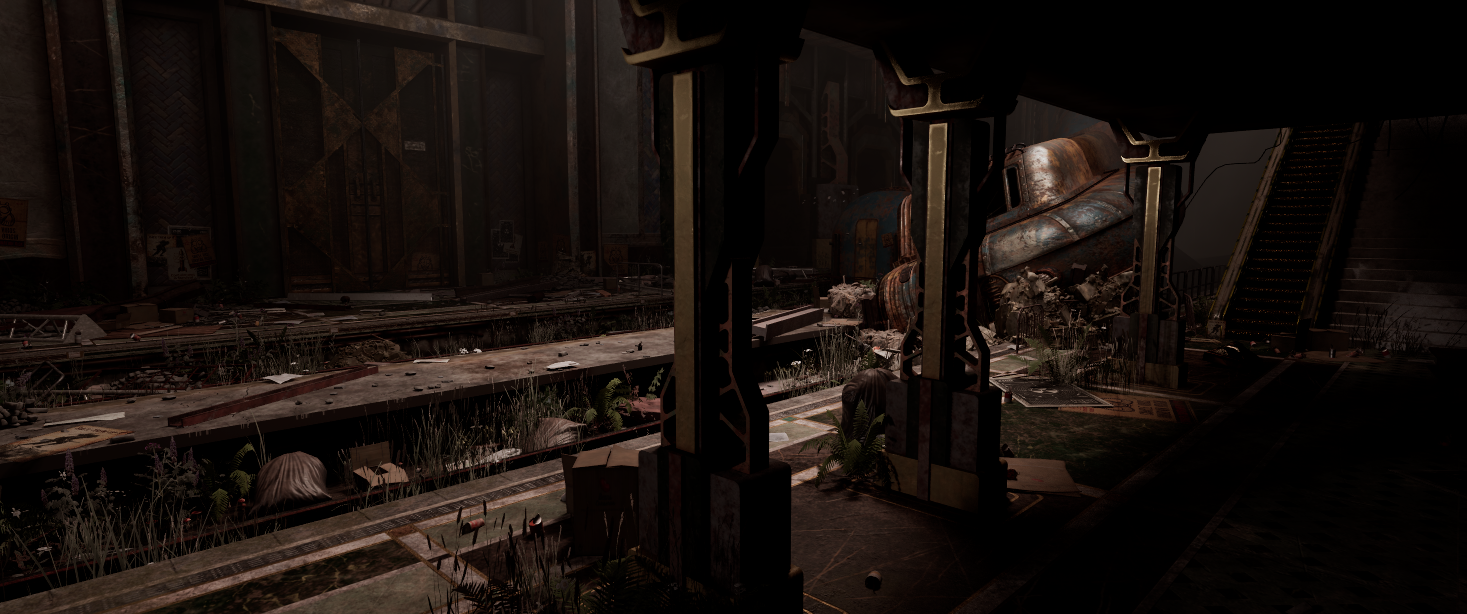
Lotos Station is a student-led SCAD short film set in a retro-futuristic, post-apocalyptic train station filmed on an XR Stage with a physical set backed by Unreal Engine 5. The project ran for 10 weeks, from script to wrapped shoot.
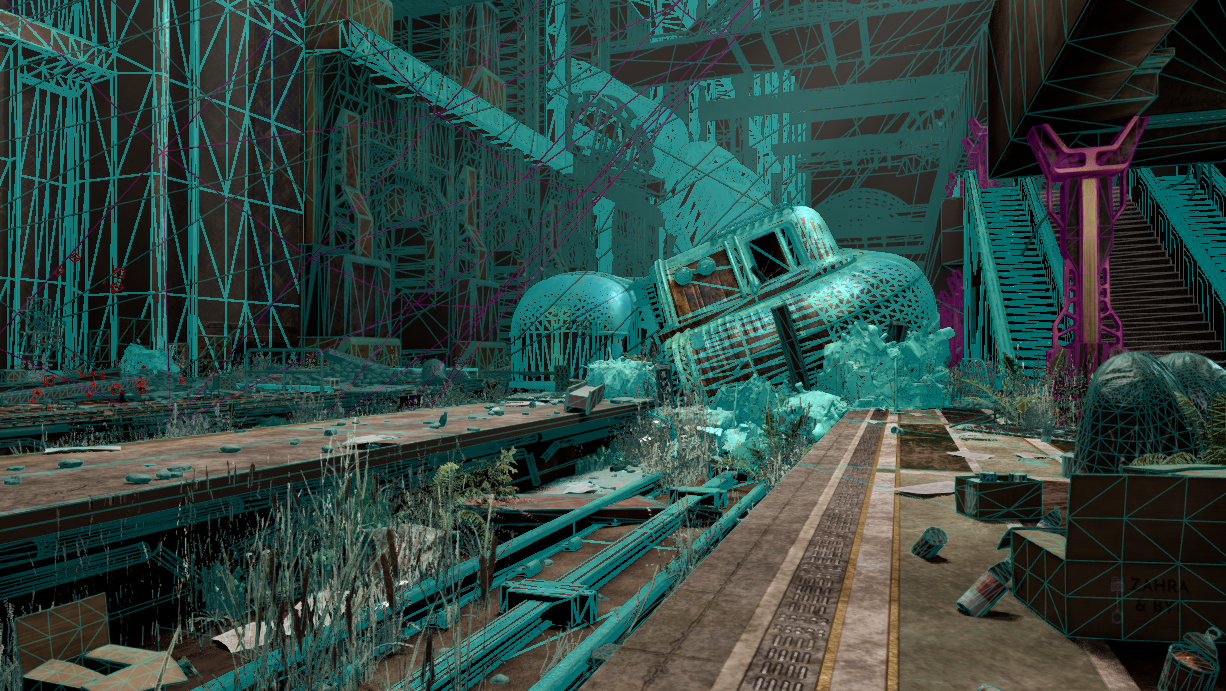
Retro-Futurism Meets Decay
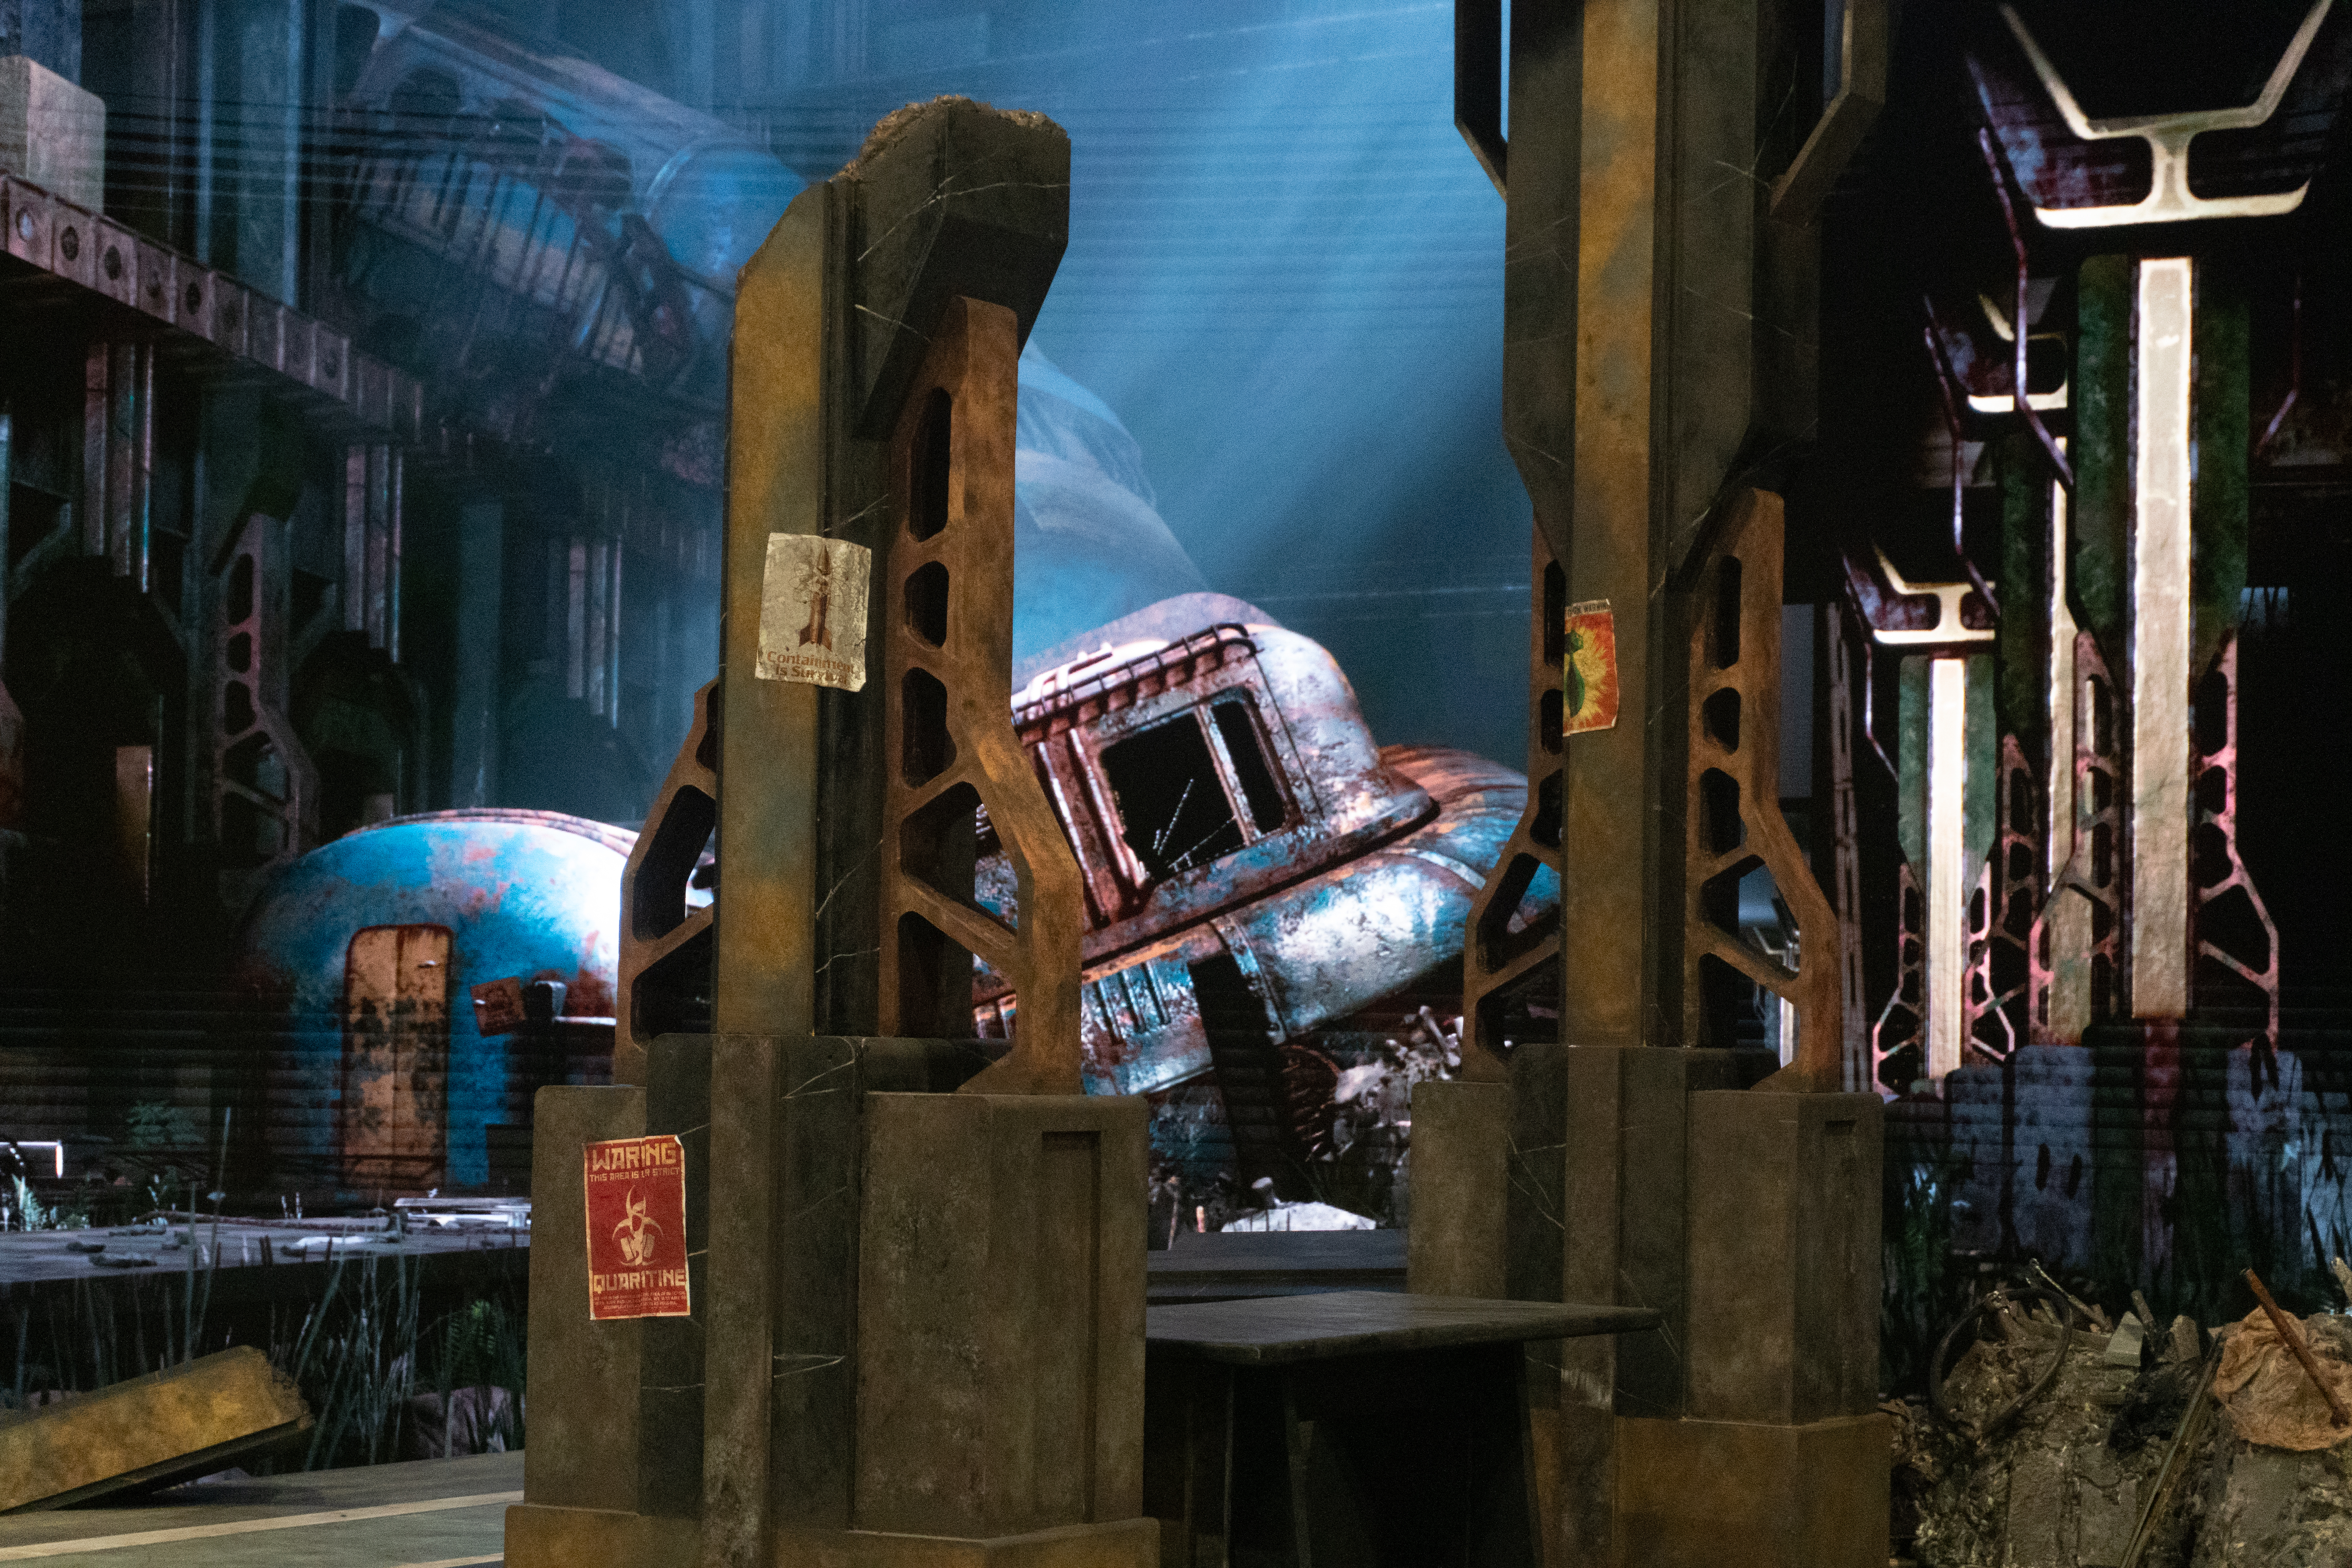
Art Deco architecture layered with post-apocalyptic material language: moss, rust, cracked marble, oxidized copper.
Materiality as Storytelling
Every surface read carries narrative weight. Weathered finishes and broken geometry reinforce the sense of a place frozen mid-collapse.
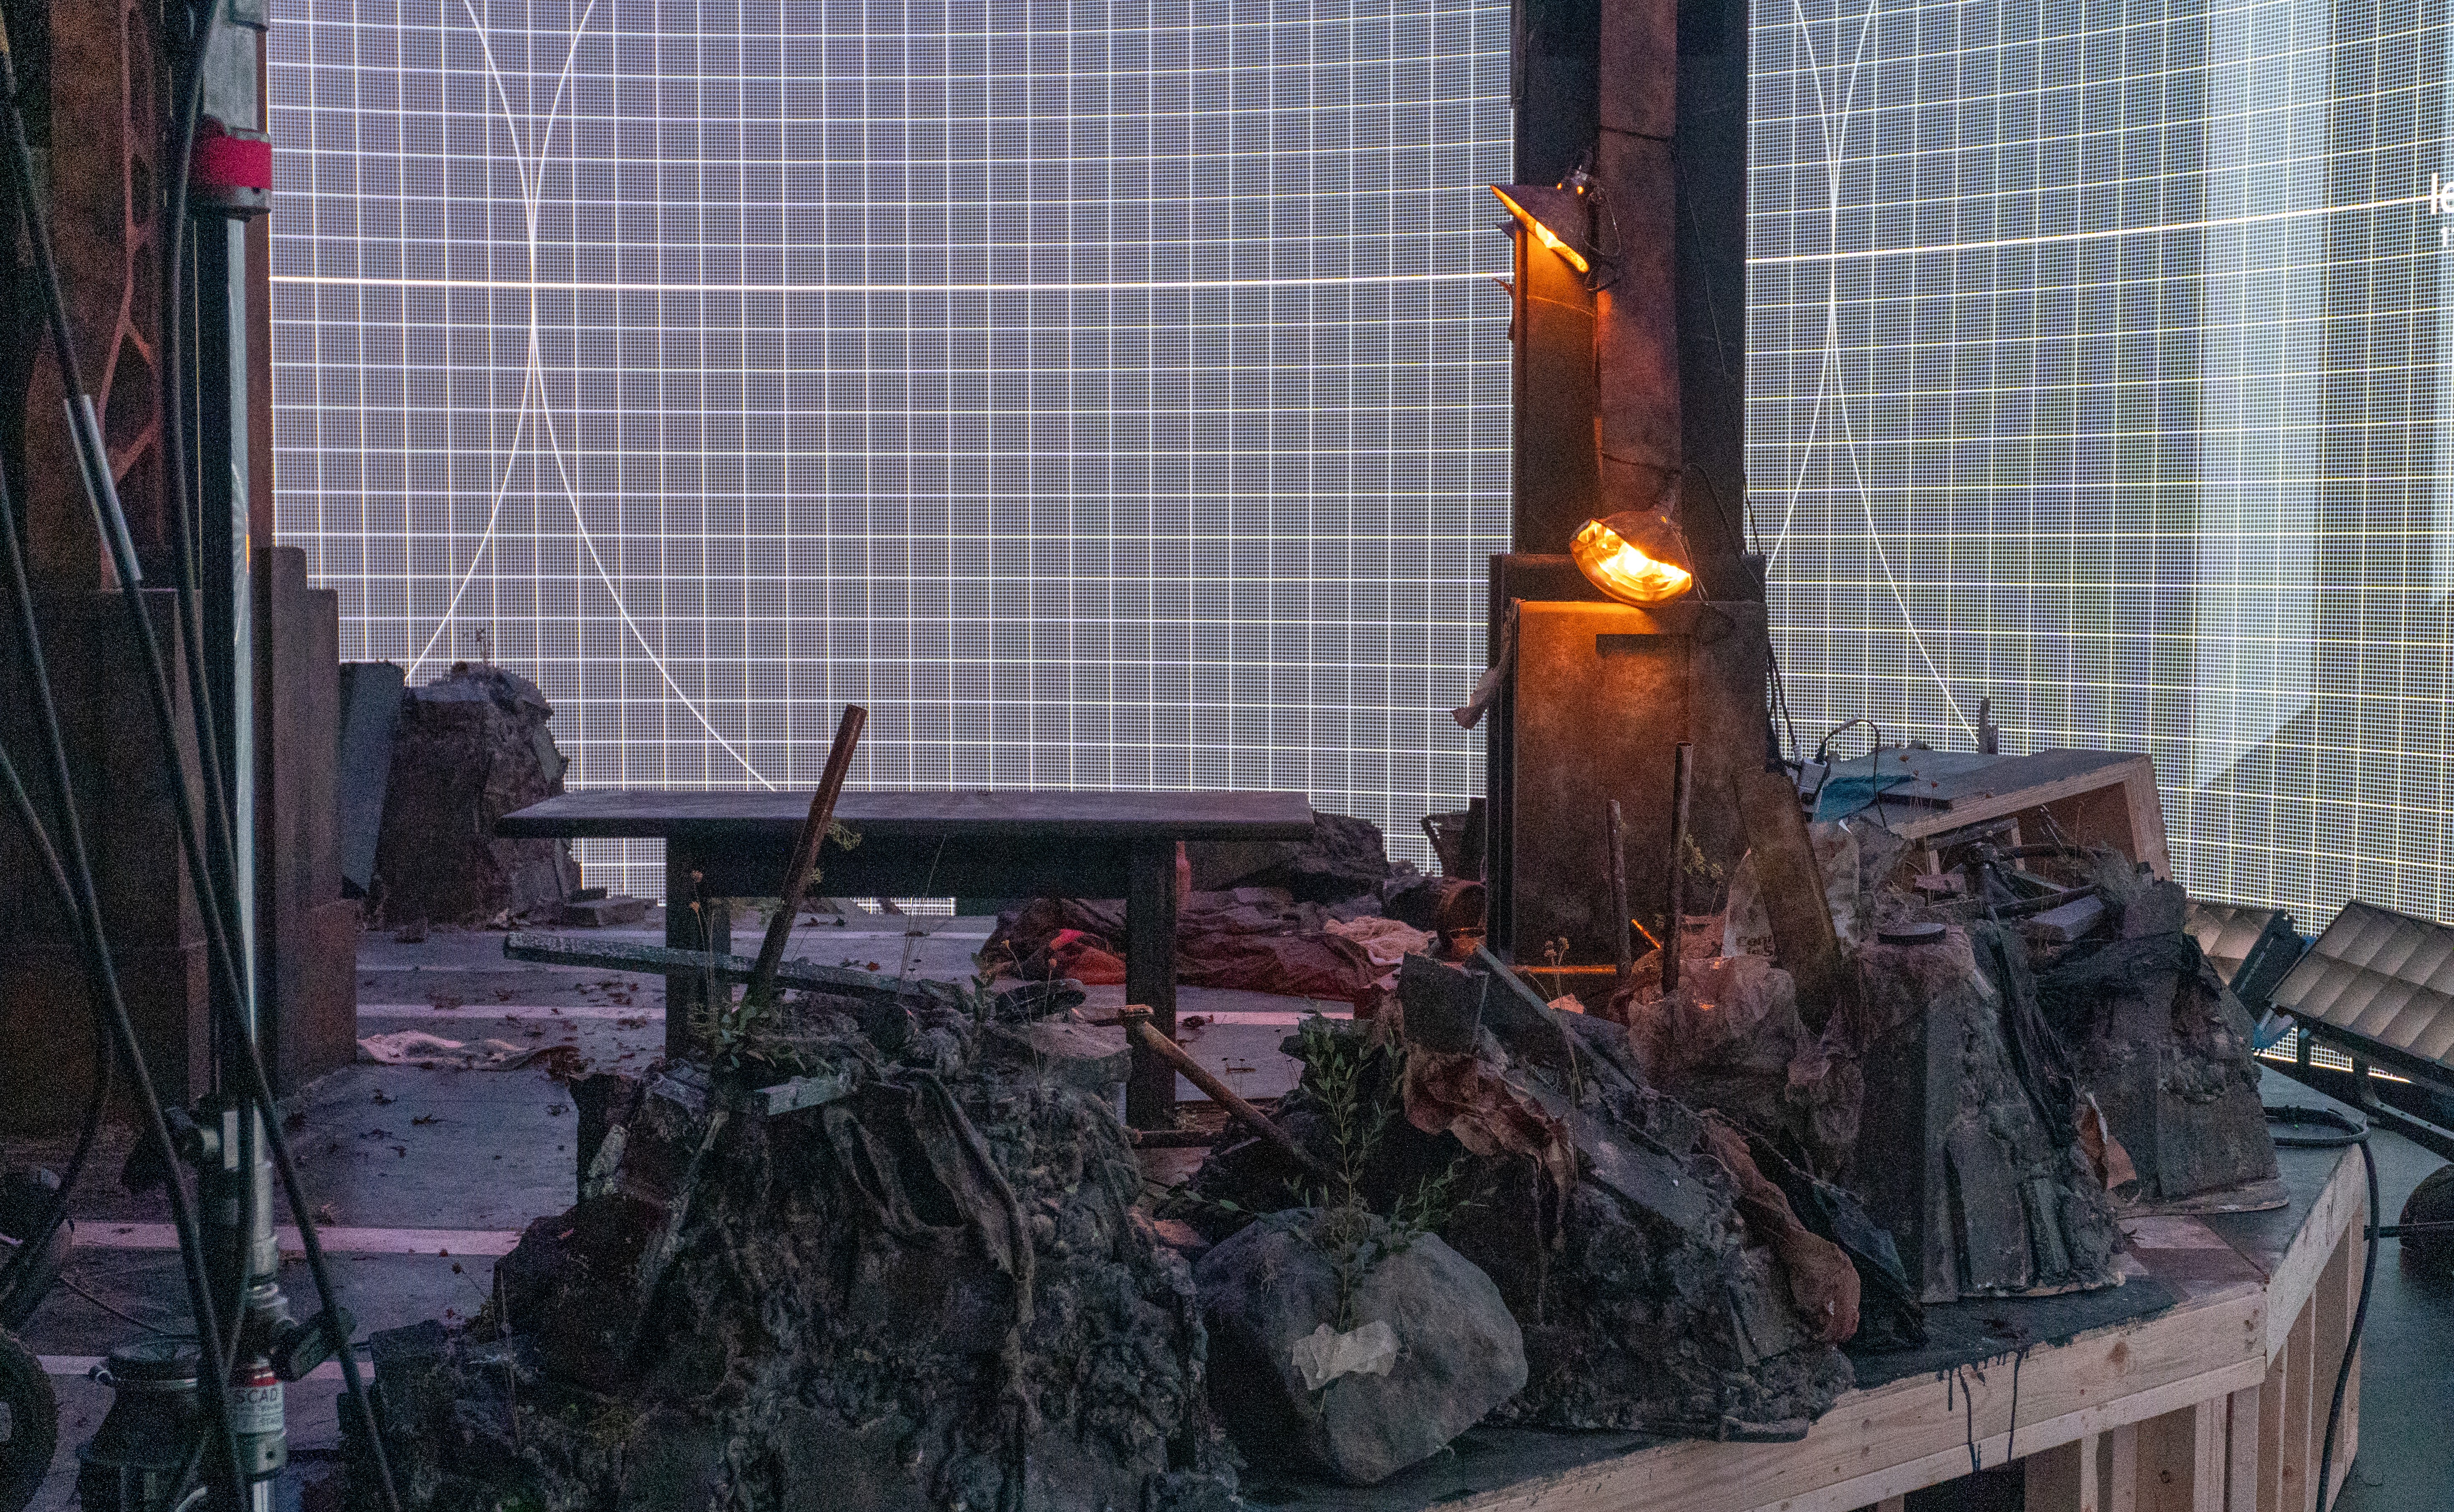
Physical and Virtual in Sync
Seamless blend between practical set pieces and virtual environment, with virtual cameras calibrated to match
physical lenses throughout.
My Role
Pre-Load Prep
- PBR Master Material with ORM
- Parallax Occlusion Material
- Triplanar Material Function
- Blend Material Function
- Spline-based instance placement tool
- Cable tool Blueprint
- Camera lens Blueprint
- Niagara dust particle system
- Steel smart material with age slider
- Geometry cleanup and UV correction
- Perforce naming conventions and sub-level organization
Load Test to Shoot
- Optimization viewmode profiling
- Selective Nanite disabling
- Texture map resizing and ORM consolidation
- Foliage and geometry reduction
- Volumetric fog, Godray, LightBeam refinement
- Fill light implementation and validation
- Lighting consistency across sub-levels
Shoot Day
- Material matching to physical set
- Transparency and emissive overlap cleanup
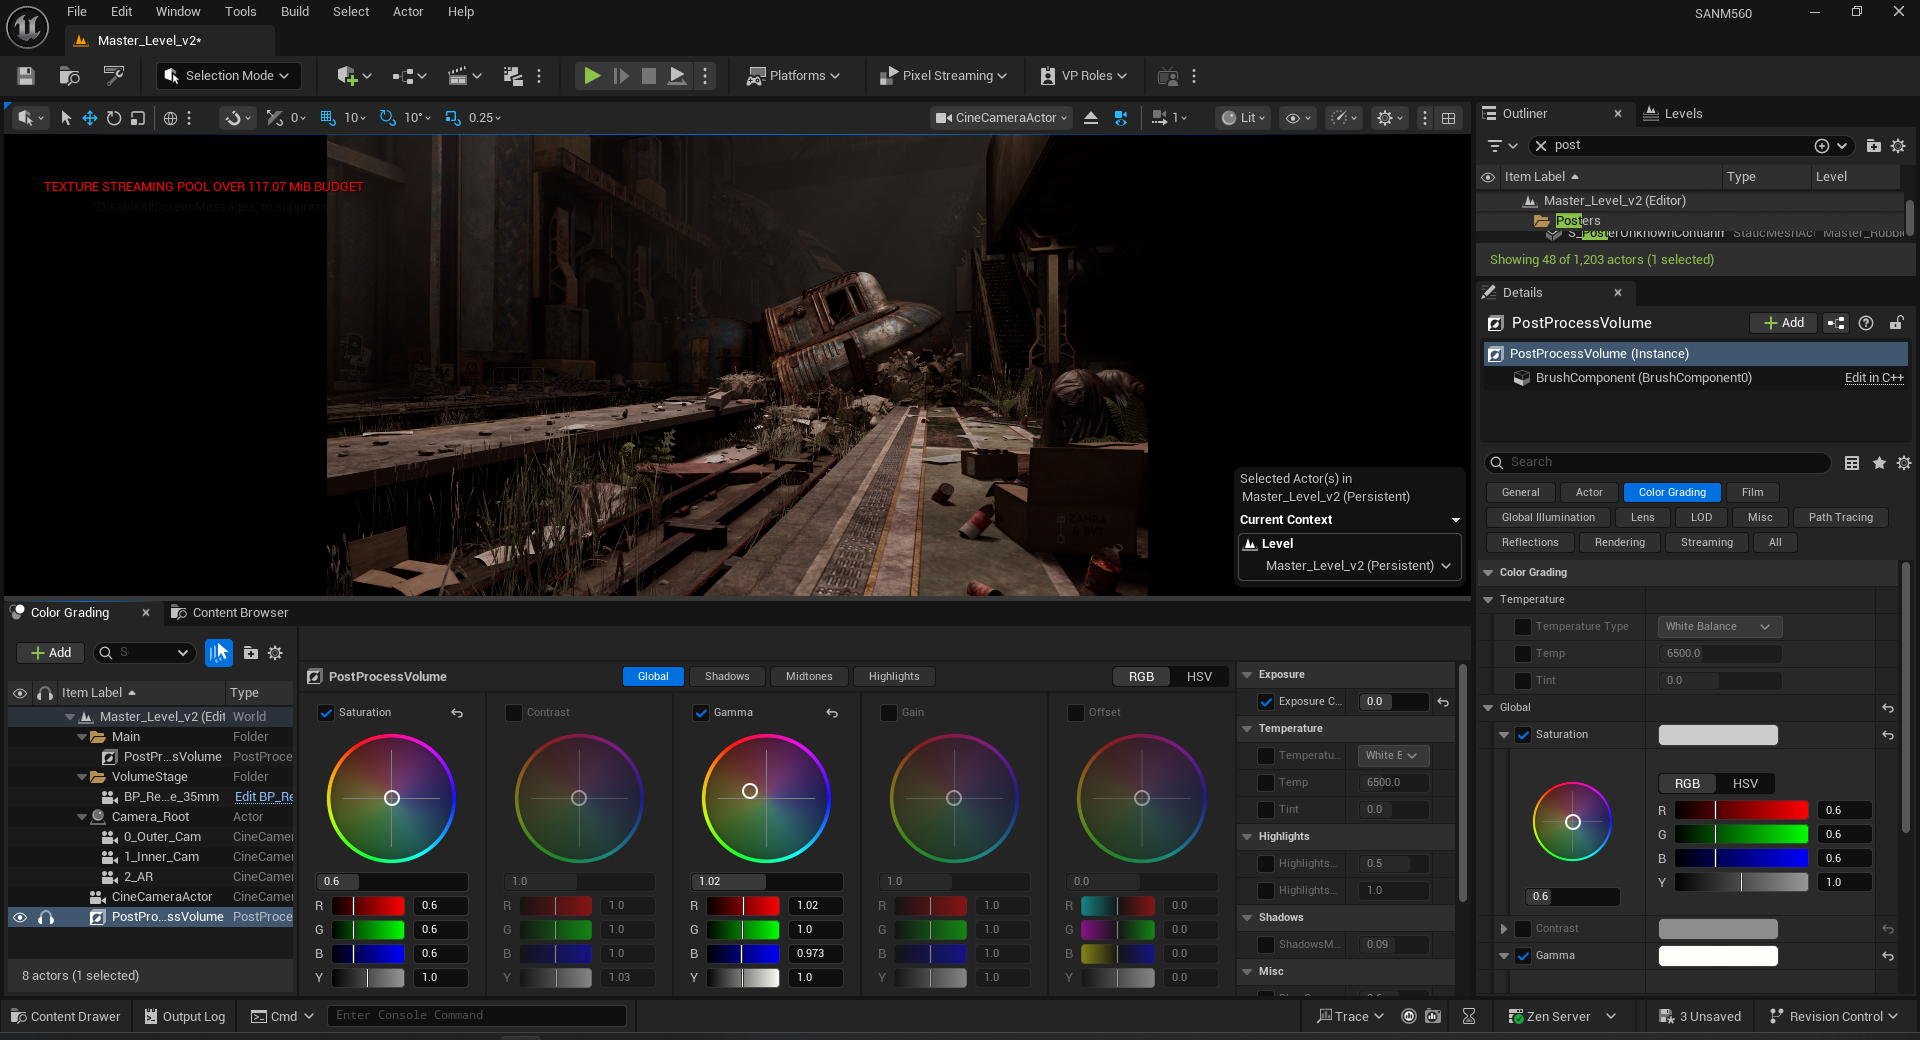
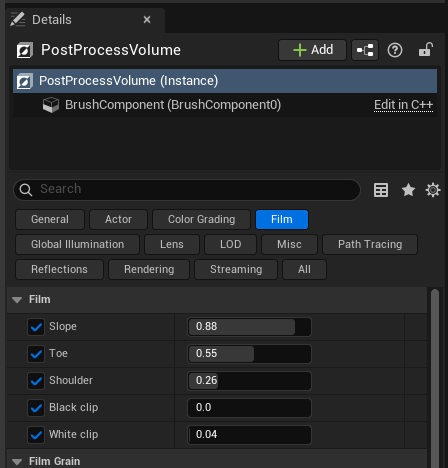
- Color grading via Post Process Volume
- Real-time lighting adjustments between takes
Phase 1 — Pre-Load Prep
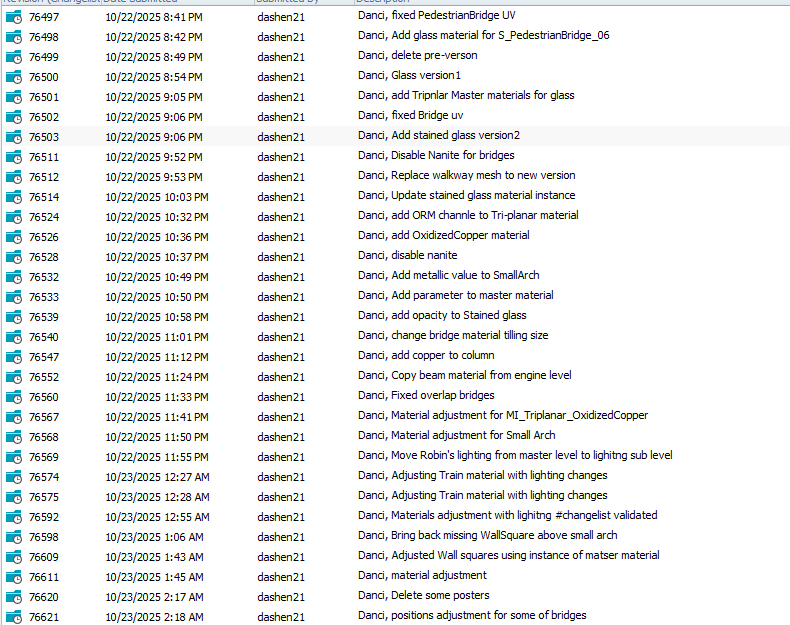
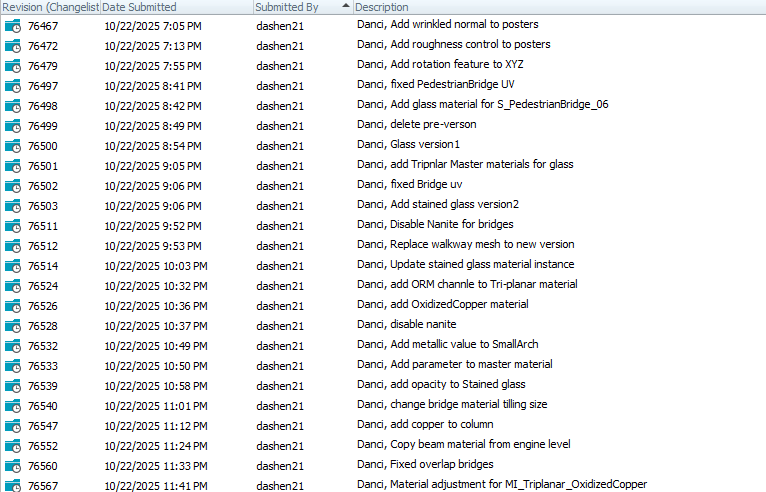
Weeks 1 to 6Before the first load test, the priority was giving the environment team a stable, scalable material foundation and a set of tools that reduced repetitive manual work. All assets and scene files were managed through Perforce with established naming conventions and update protocols. The environment was split into isolated sub-levels across Tunnel, Platform, Lighting, and HereAssets to allow independent iteration without loading the full scene.
Master Material Systems
Four reusable master materials were built to cover the full range of environment surfaces. Each was exposed with per-instance parameter controls so artists could adjust roughness, metallic, emissive, and ORM values directly without touching the shader graph.
PBR UV Master Material
Foundational canvas for all UV-mapped assets. ORM texture sampler with tweakable Basecolor, Normal, and PBR channel parameters.
Parallax Occlusion Material
Boolean "Enable POM" toggle exposed per-instance. Adds surface depth only where needed, avoids overhead on flat surfaces.
Triplanar Material Function
Auto-projects textures onto geometry with no UV seams. World Align Function extended with rotation controls for art direction flexibility.
Blend Material Function
Merges two material inputs via lerp across Mask, Normal, and Up Vector channels. Used for dust, rust overlay, and decorative surface layering.


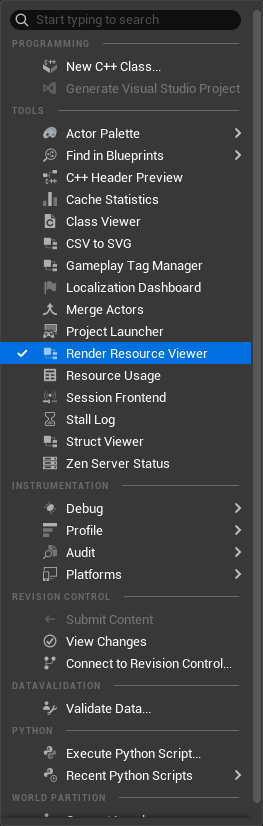
Unreal Tools
Spline-Based Instance Placement
Blueprint actor spawns meshes along a spline with configurable density, rotation variance, and scale. Supports instanced meshes and child actor integration. Reduced manual placement from hours to minutes.
Cable Tool
Artists paint a viewport curve and the tool stitches segmented cable meshes along the path automatically, eliminating manual segment-by-segment placement.
Camera Lens Blueprint
All CineCameraActor settings packaged into a Blueprint preset. Swapping cameras no longer requires re-configuring focal length, aperture, and lens settings per shot.
Steel Smart Material
Age slider from 0 to 1 drives blend weight between clean paint and full corrosion. Procedural noise masks simulate pitting and flaking. Color tint controls for production flexibility.


Geometry Cleanup and UV Correction
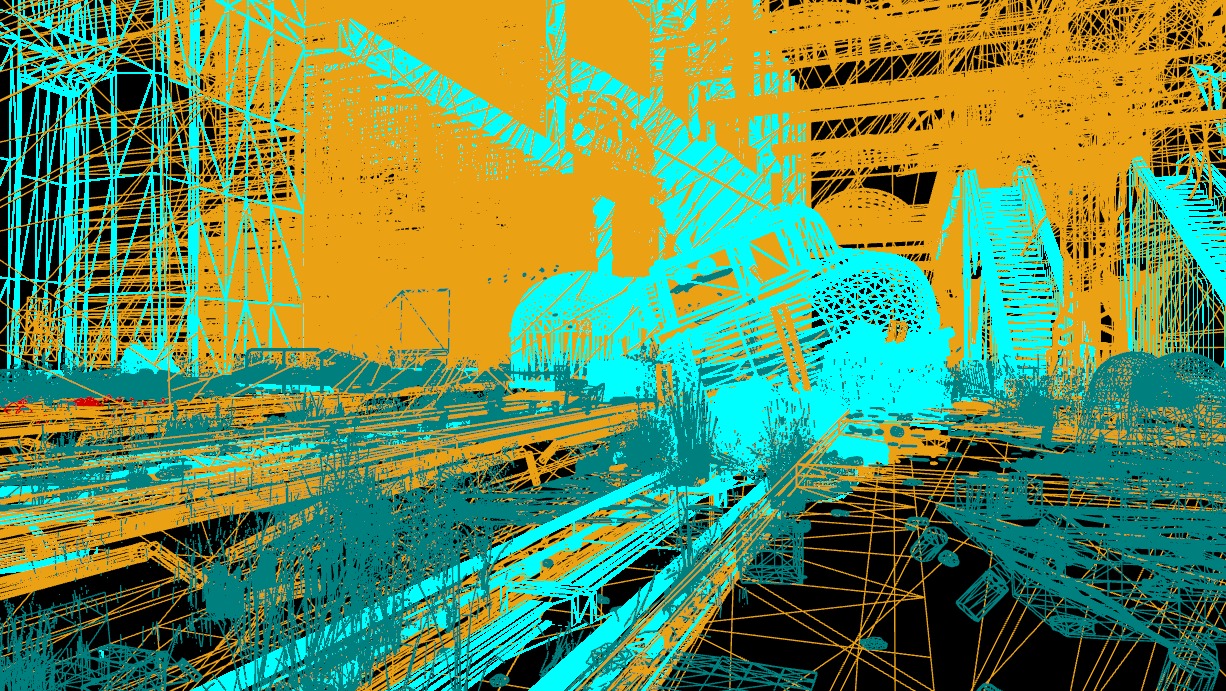
Bridges, walkways, and pedestrian assets were rebuilt with corrected UVs to eliminate texture overlap under camera tracking. Selective Nanite disabling was applied to translucent and reflective meshes to stabilize lighting response on the LED wall. These fixes also ensured triplanar projection stayed aligned with the master materials.
Phase 2 — Load Test to Shoot
Weeks 7 to 9Two pre-load tests at the LED Volume revealed what actually needed fixing at stage scale. Surfaces that looked correct in editor showed calibration issues on the wall. Frame rate targets required targeted cuts, not guesswork. The goal was to hit 90 fps for stable nDisplay tracking without visible quality loss on close-up shots.
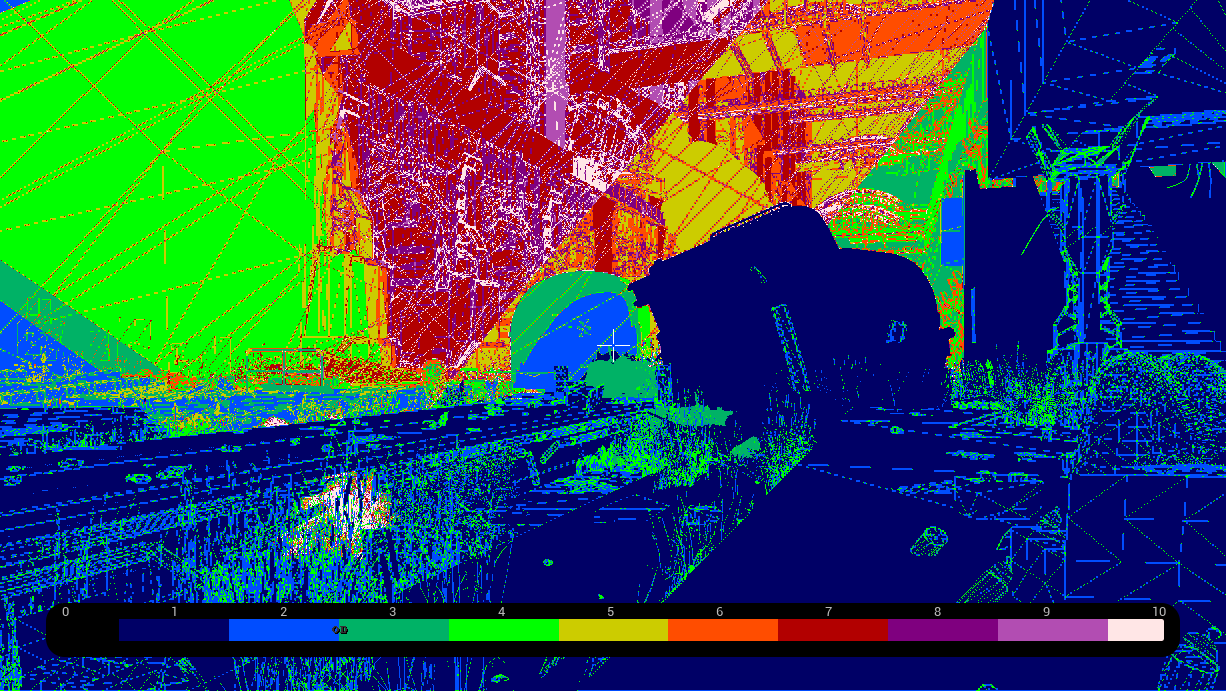
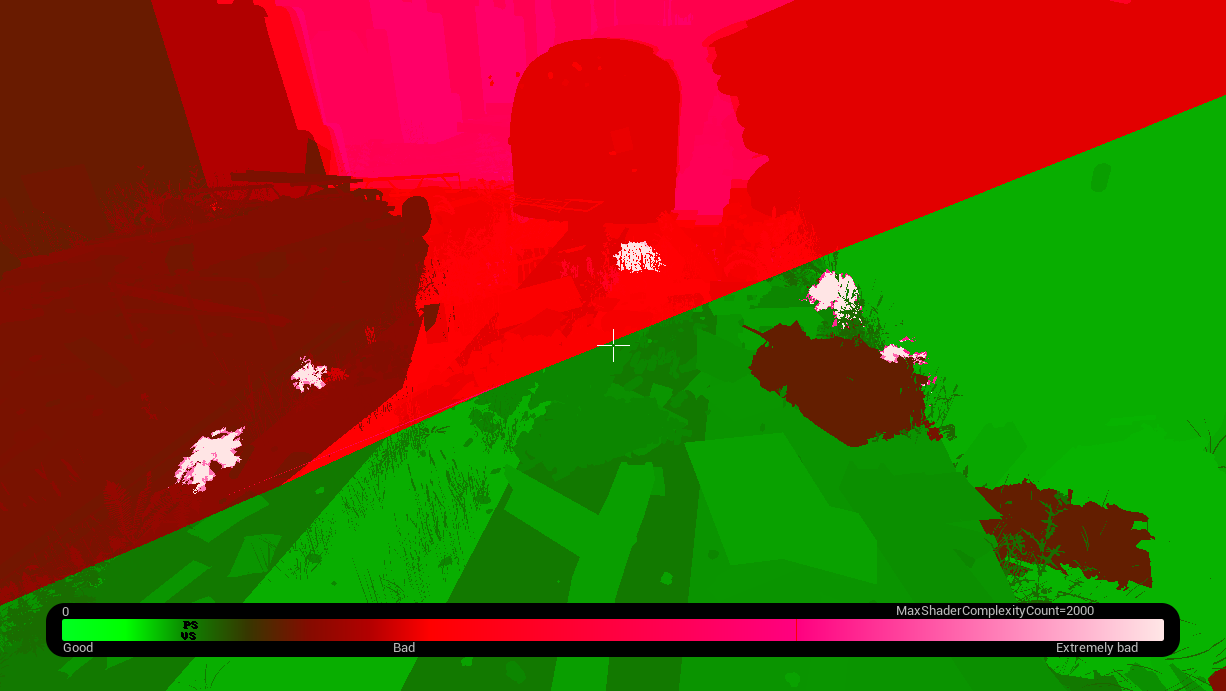
Performance Profiling
Unreal's built-in Optimization Viewmodes were used to pinpoint bottlenecks in real time rather than profiling blind: Light Complexity, Lightmap Density, Stationary Light Overlap, Shader Complexity, and Quad Overdraw.


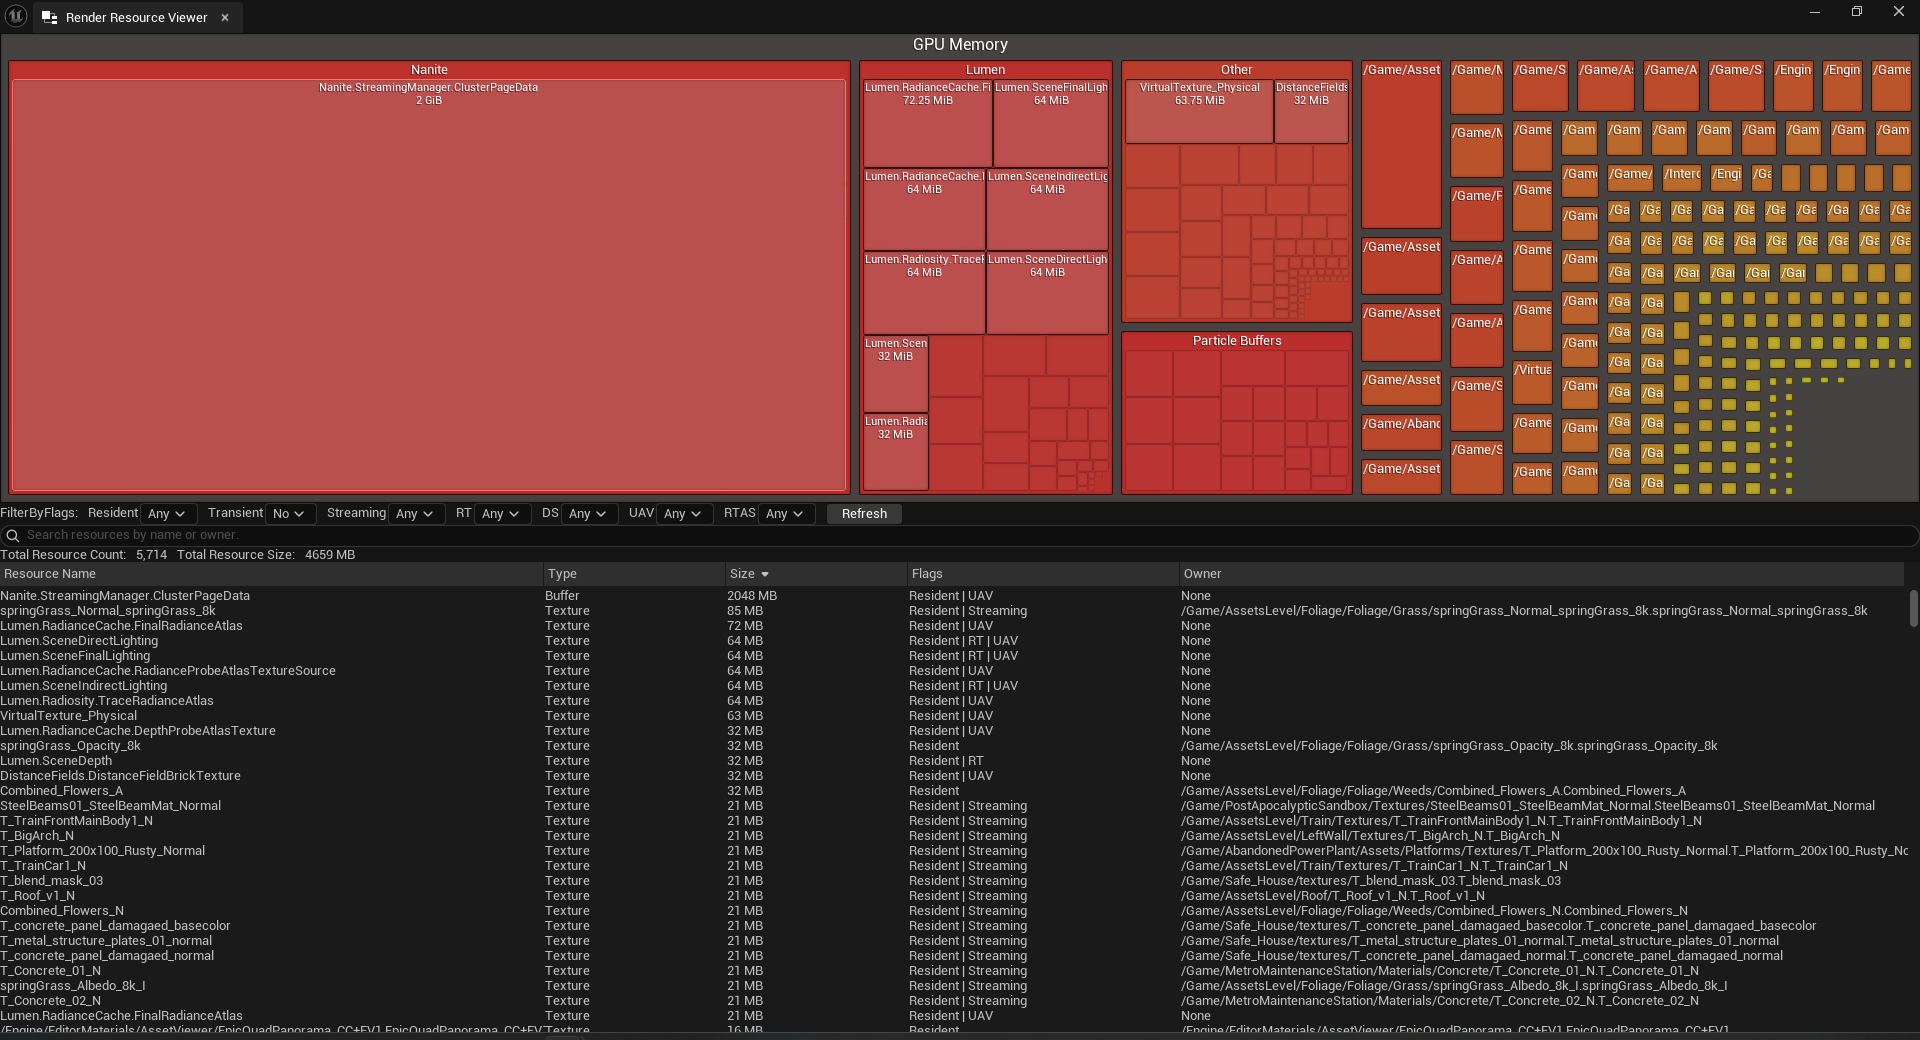
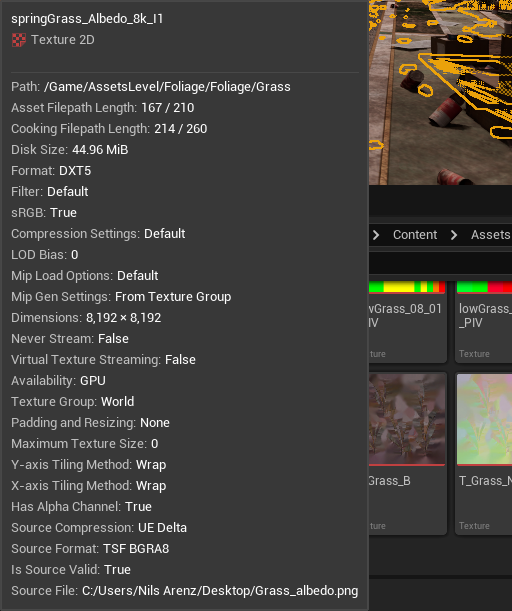
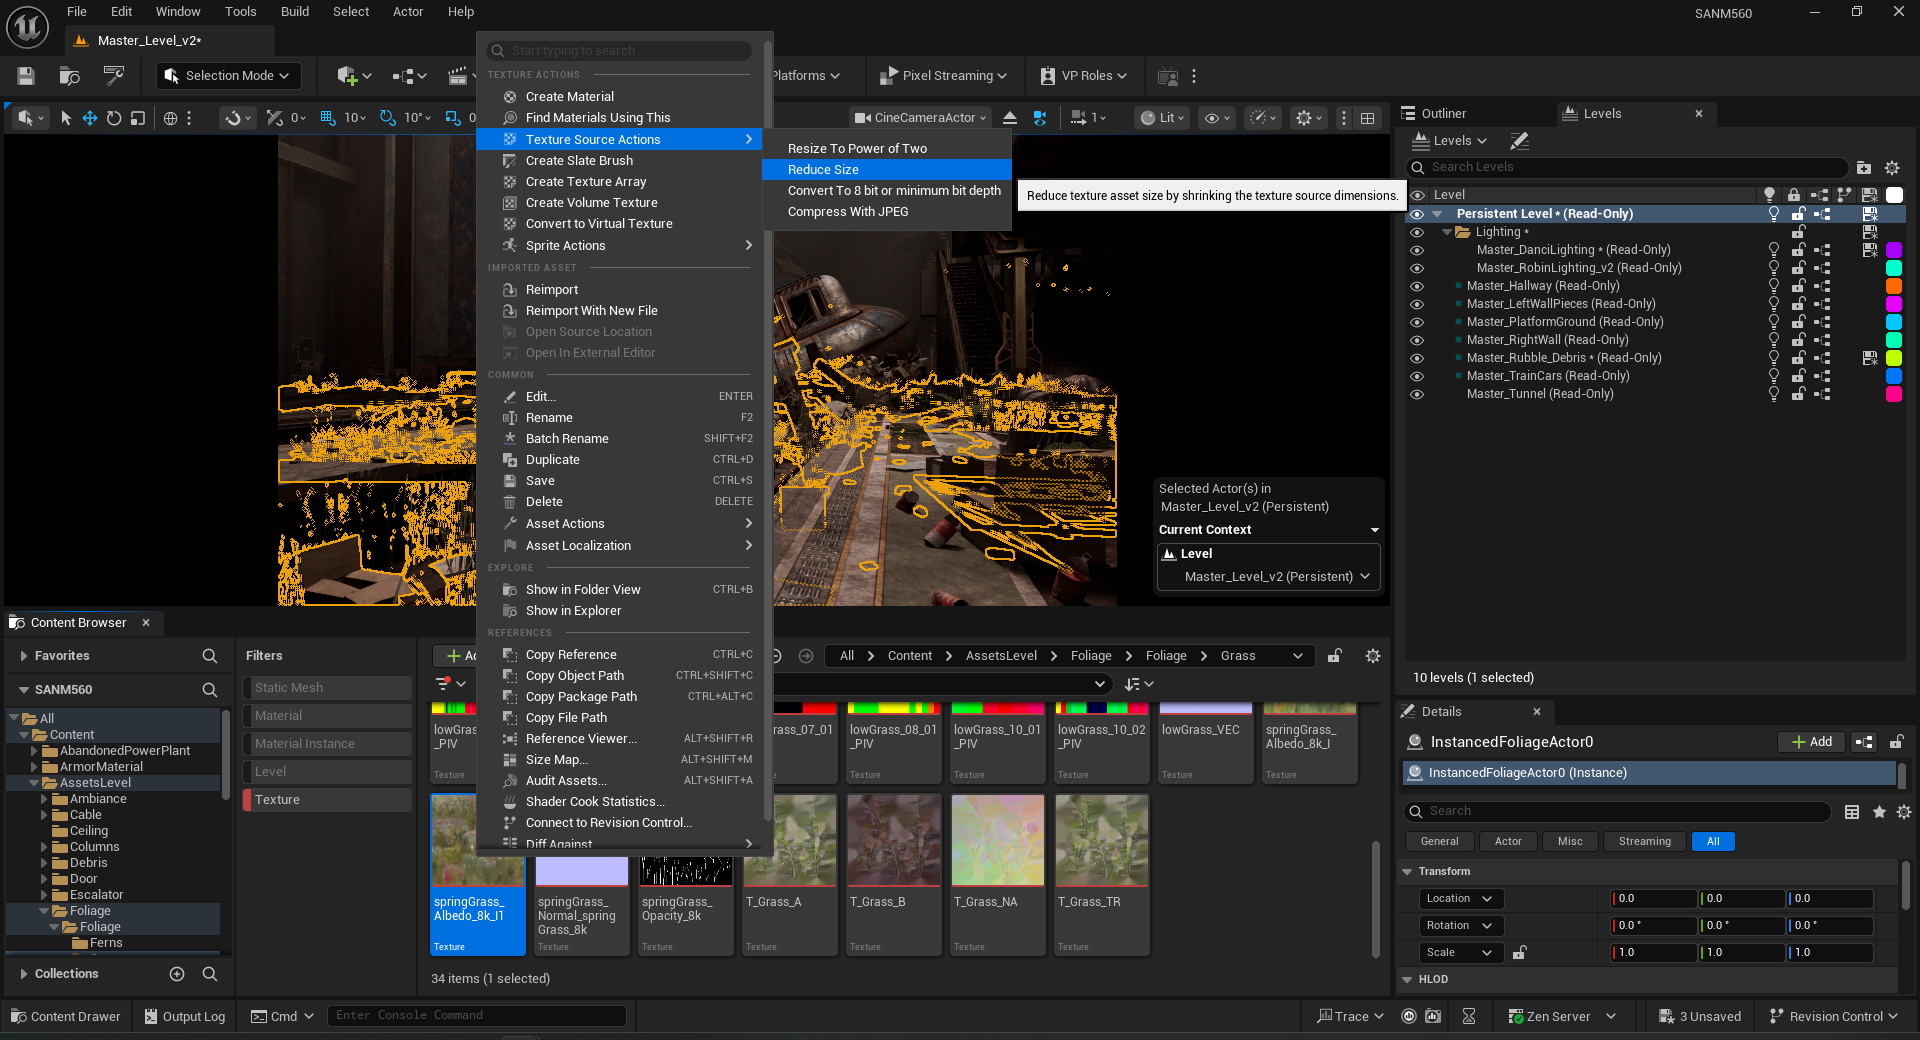
Texture Map Reduction
Oversized texture maps across multiple materials were identified, resized, and ORM channels consolidated. This reduced GPU load while preserving material fidelity on close-up shots.
Lighting Development
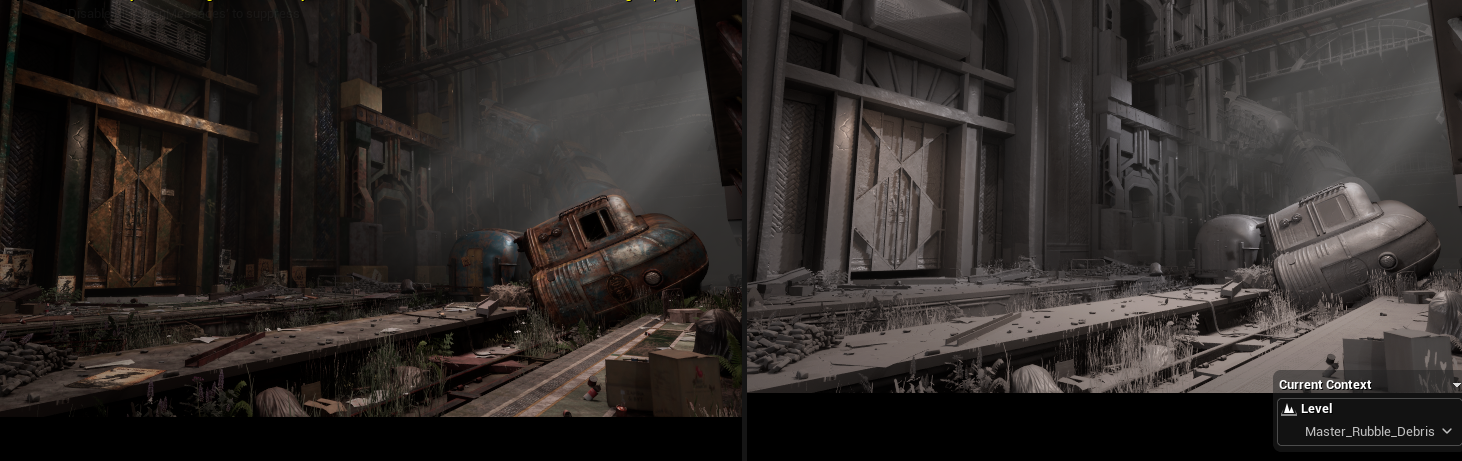
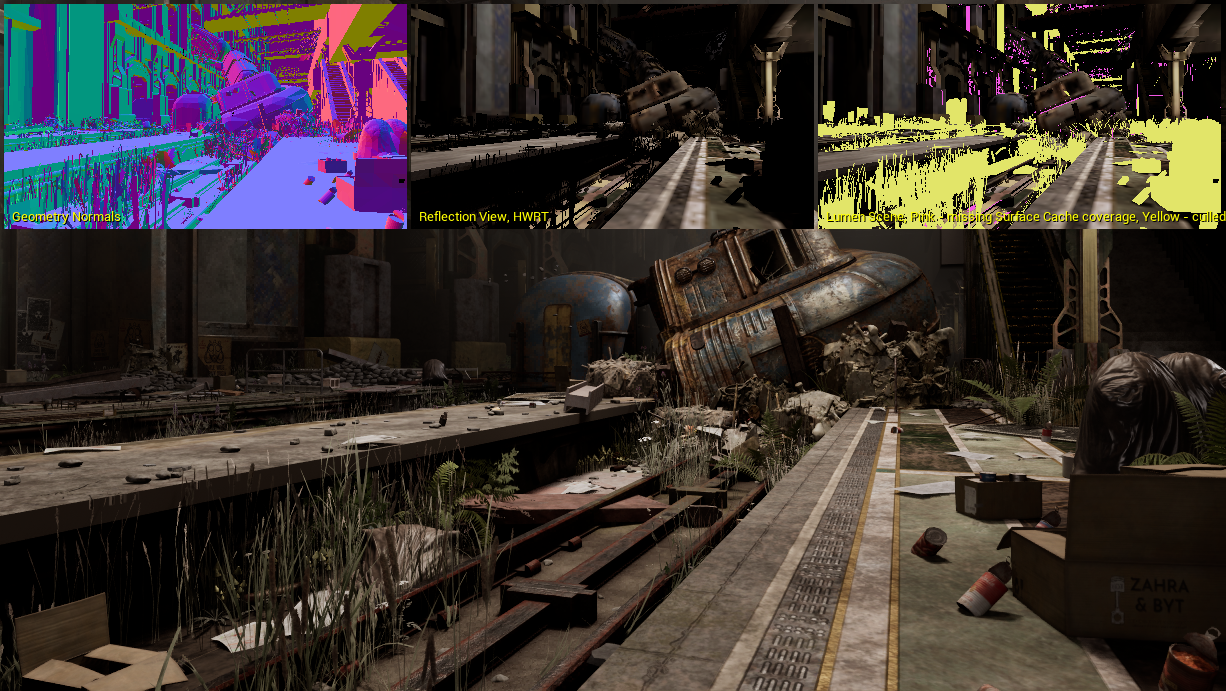
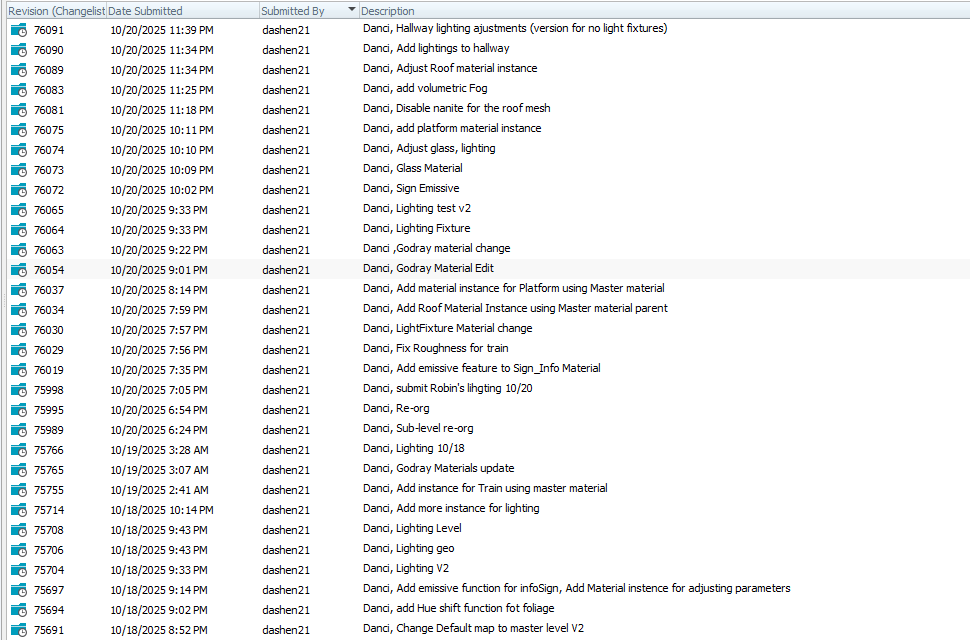
Volumetric fog and Godrays were tuned across multiple zones to establish visual depth. LightBeam material position and intensity were refined on the train to reinforce focal contrast. Fill lights were placed along left-side walls and shadowed corridors to balance exposure across bright and dim zones. All lighting was validated through changelist review passes confirming consistent shadow response and color temperature across sub-levels.
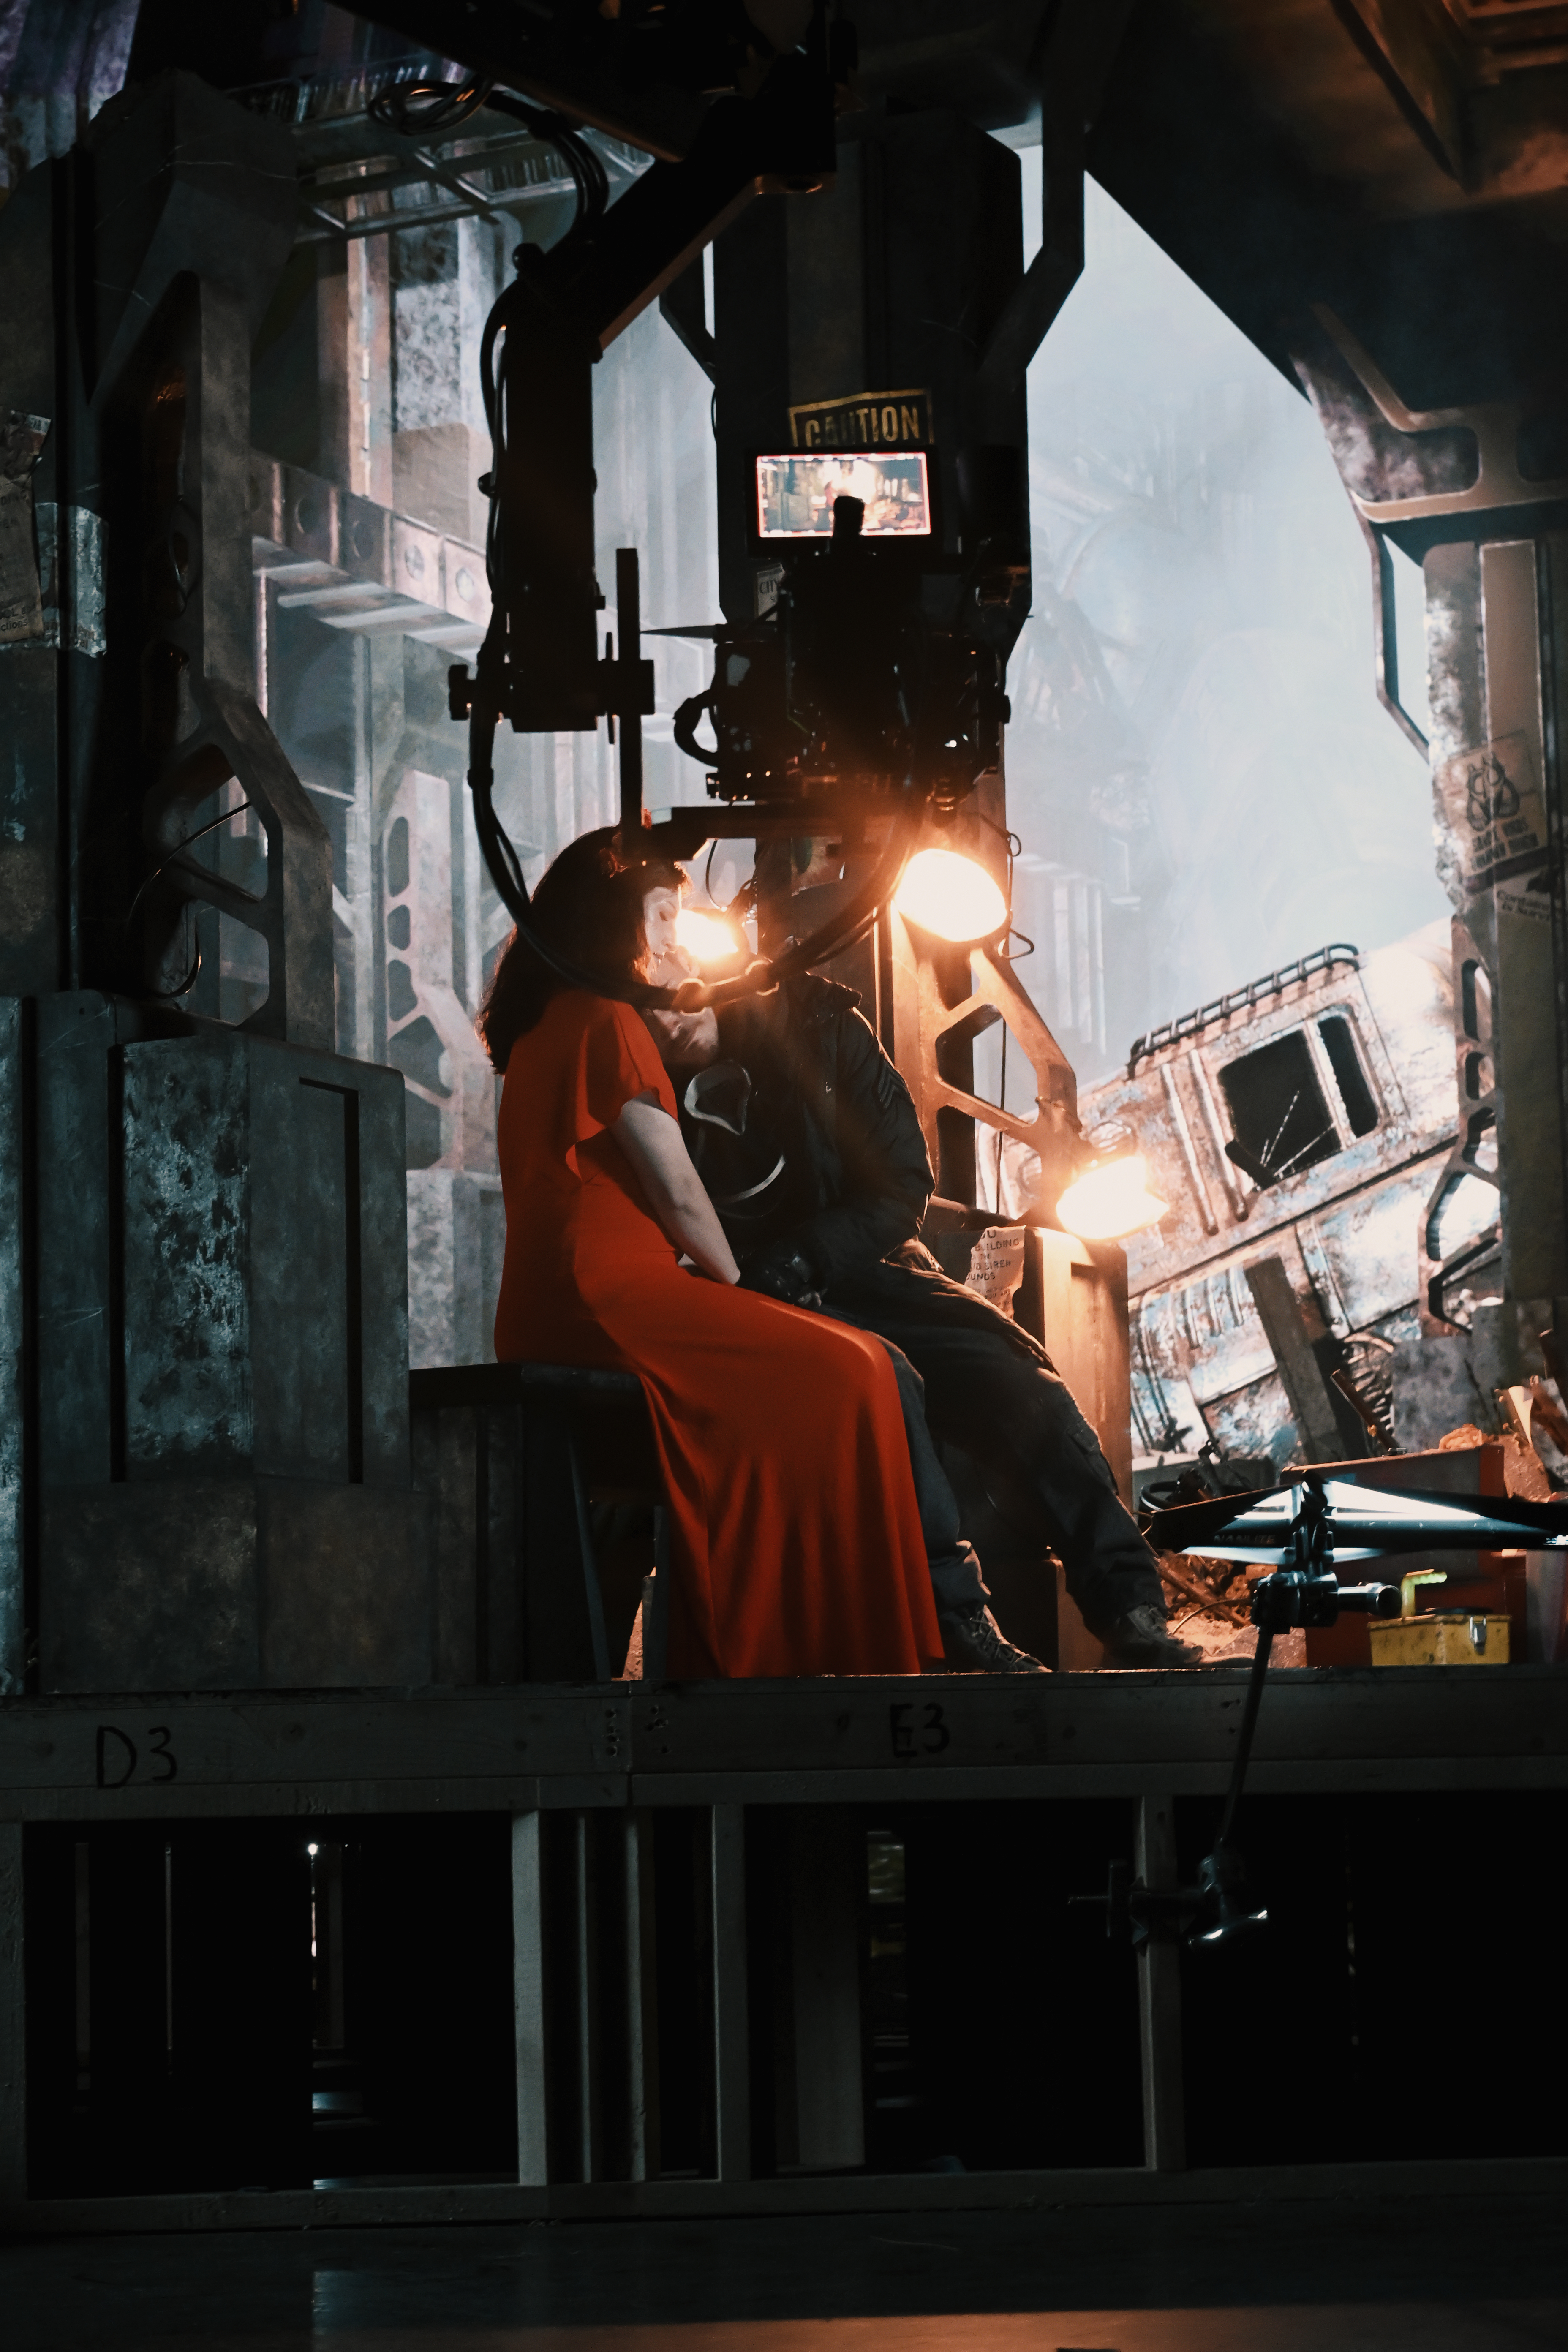
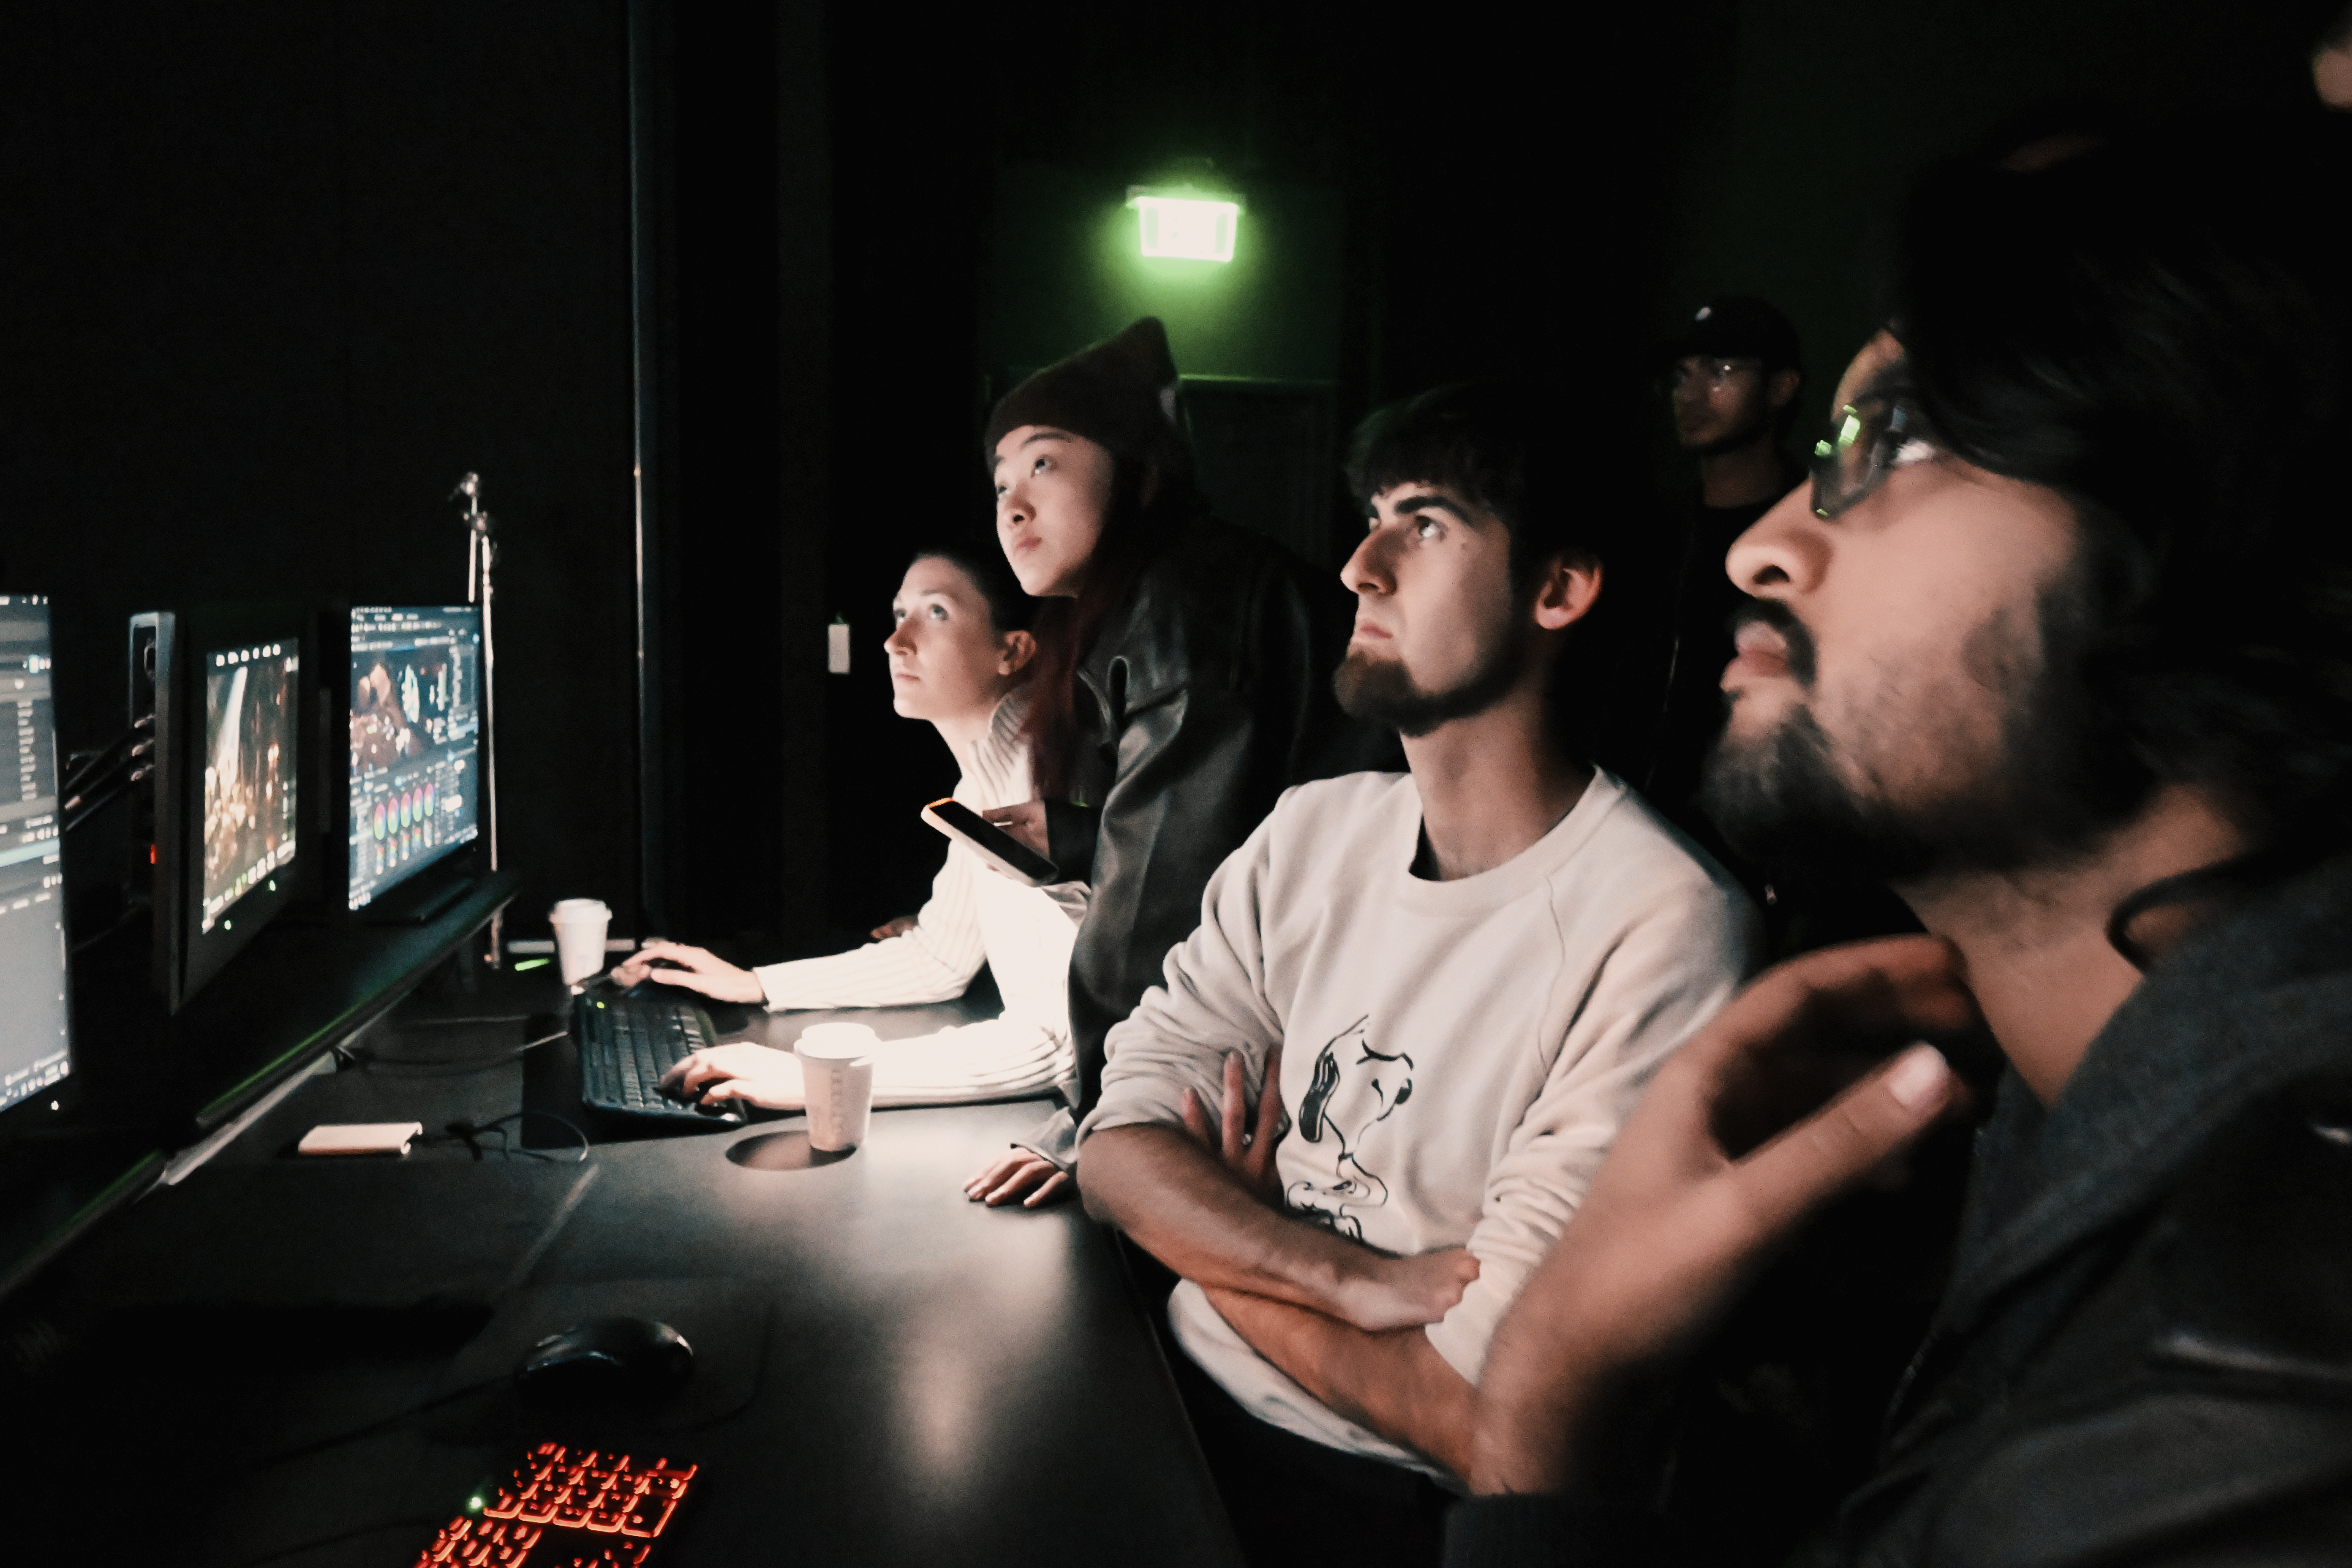
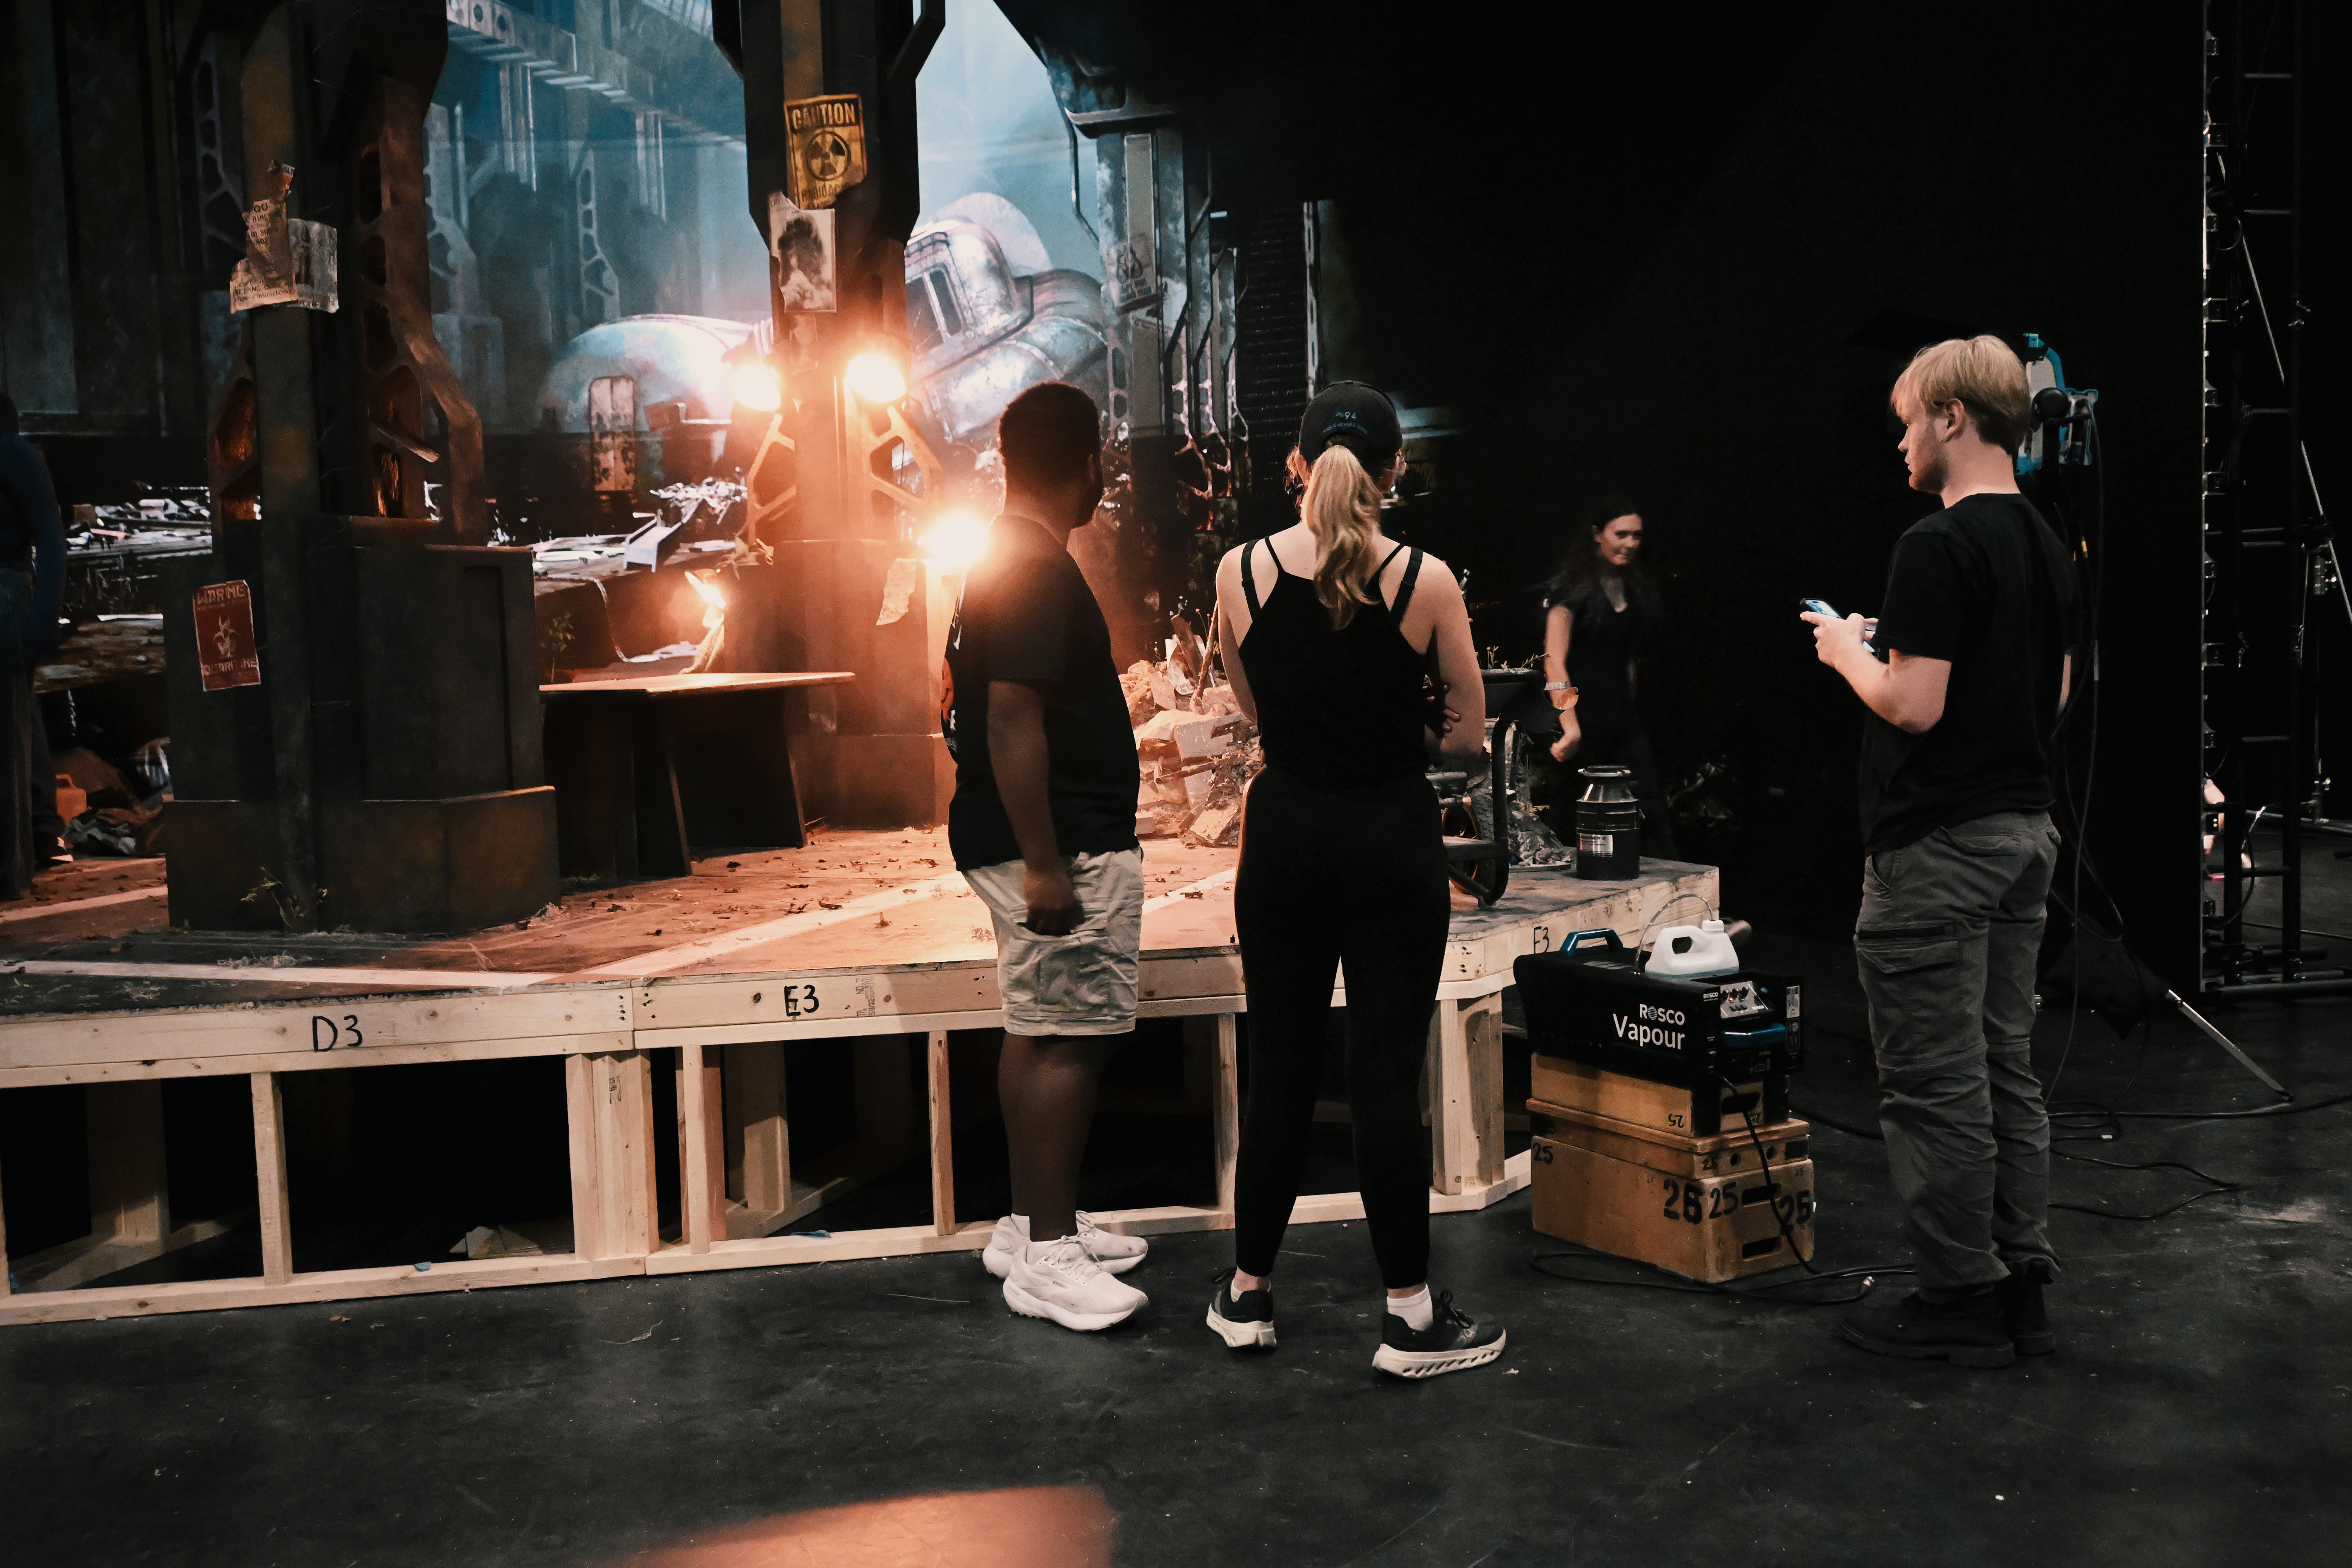
Phase 3 — Shoot Day
Week 10On shoot day the physical set arrived on stage for the first time alongside actors, practical lighting rigs, and a full crew. The virtual environment had never been seen at full scale next to real set pieces under real stage lighting. The brain bar role meant moving between directors, the DP, production design, and the Unreal workstation continuously between takes, making real-time adjustments while maintaining frame rate and visual consistency shot to shot.
Matching the Physical Set
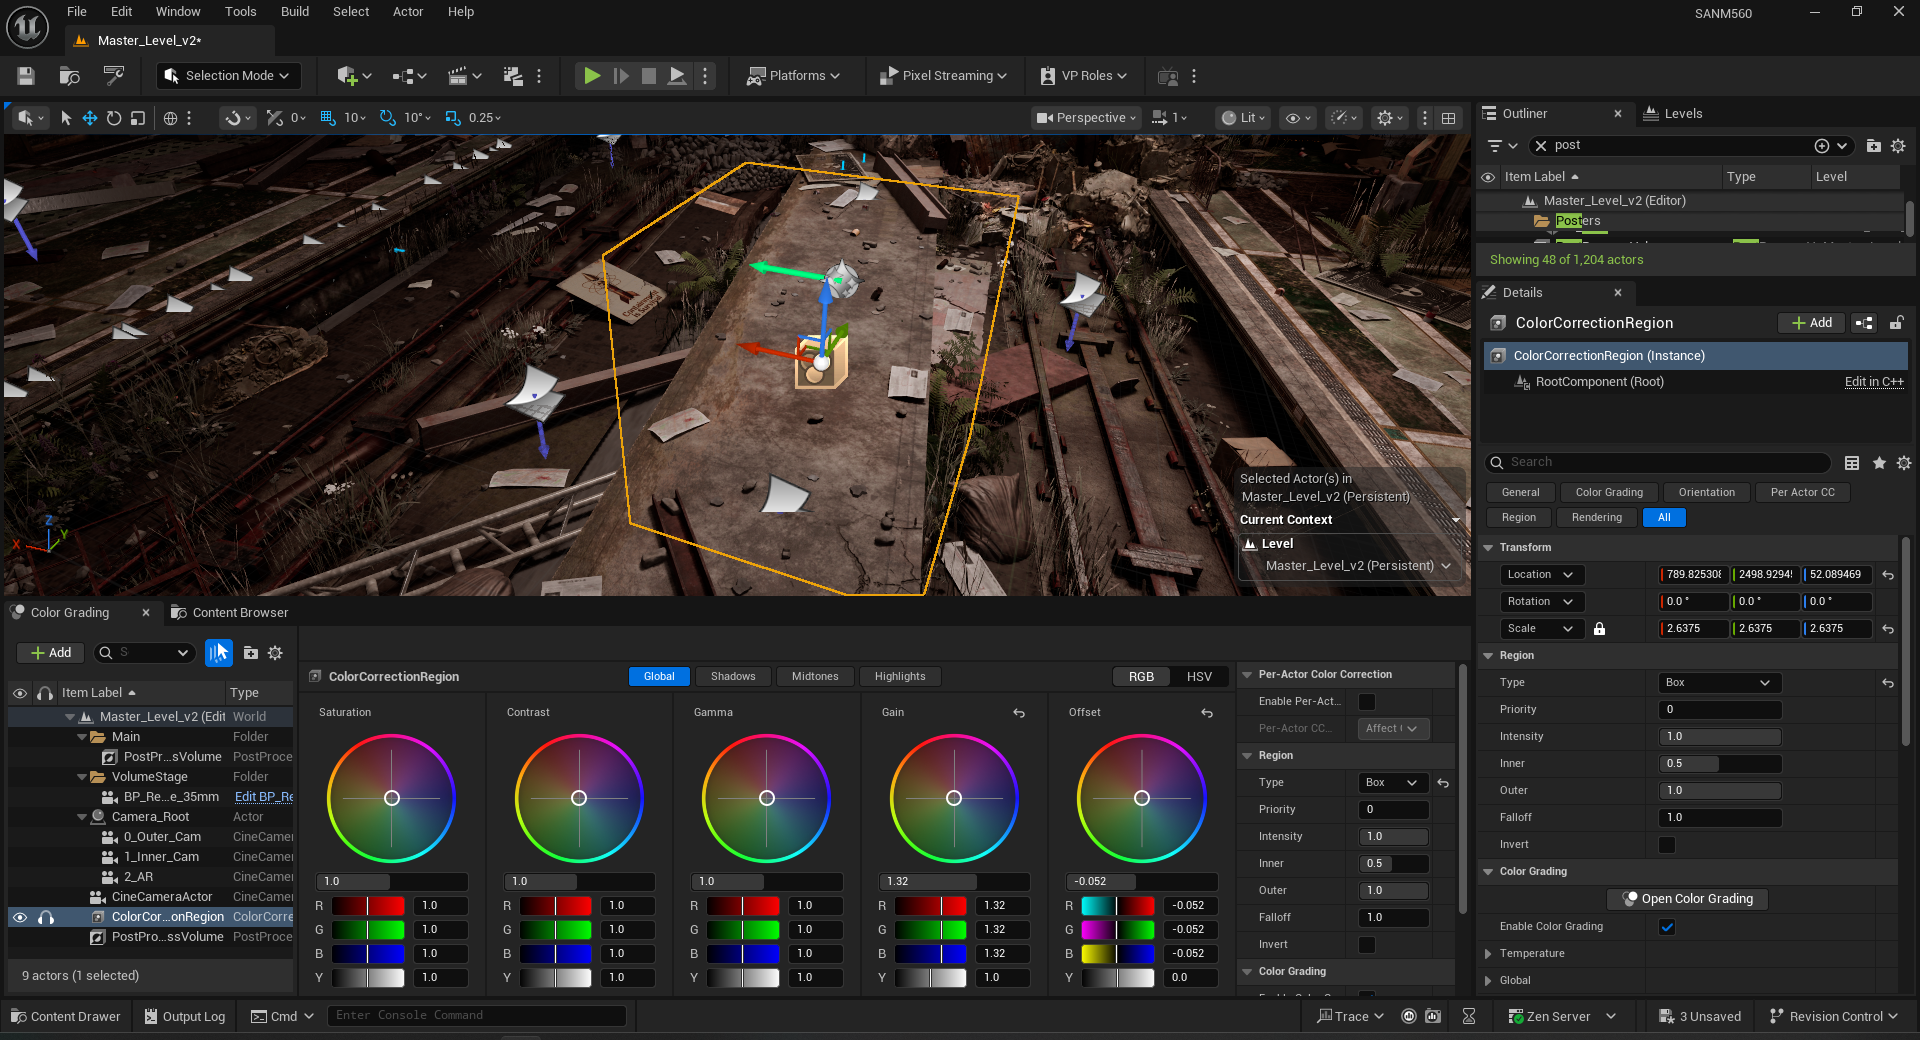
Transparency Cleanup and Color Grading
Overlapping emissive and transparent surfaces causing double reflections on the LED wall were resolved between takes. Post Process Volume and Color Grading Region were refined live to match the practical lighting temperature as the DP adjusted rigs throughout the day.